Ultimate Guide to Creating Stunning Interior Design Videos

Ultimate Guide to Creating Stunning Interior Design Videos in Singapore

Play Video

Introduction: Why Video Matters for Interior Design in Singapore

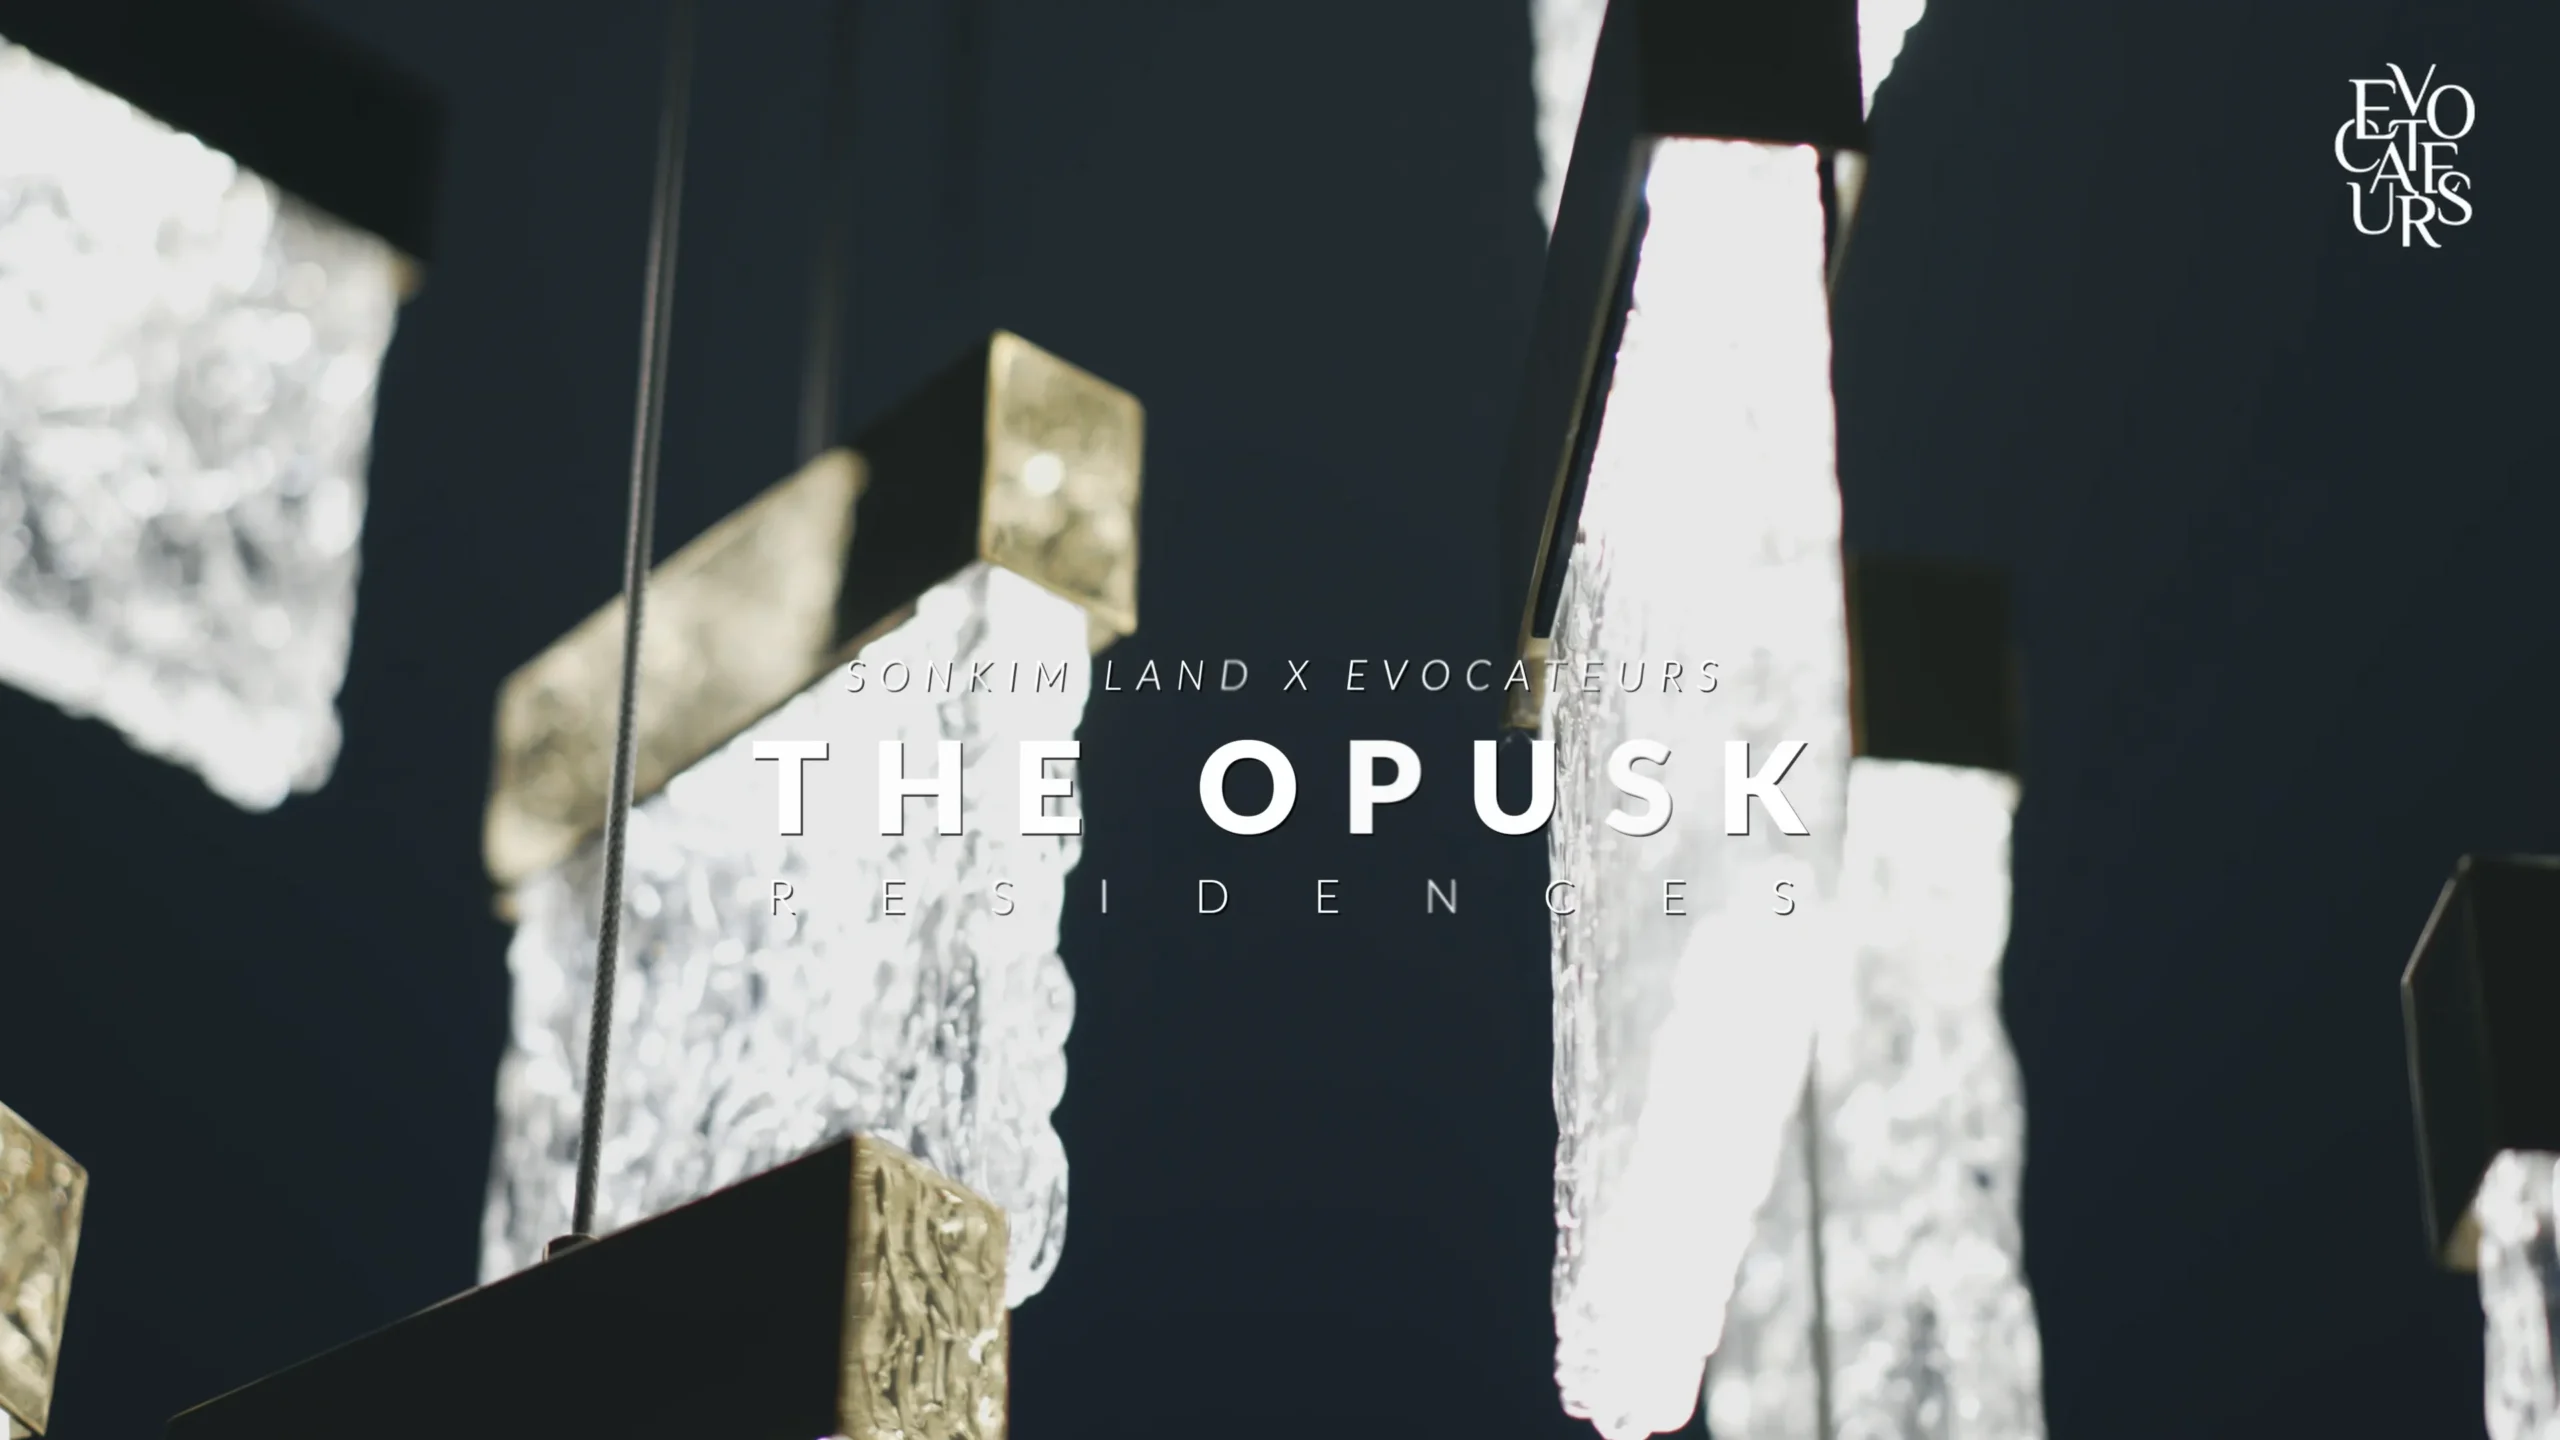
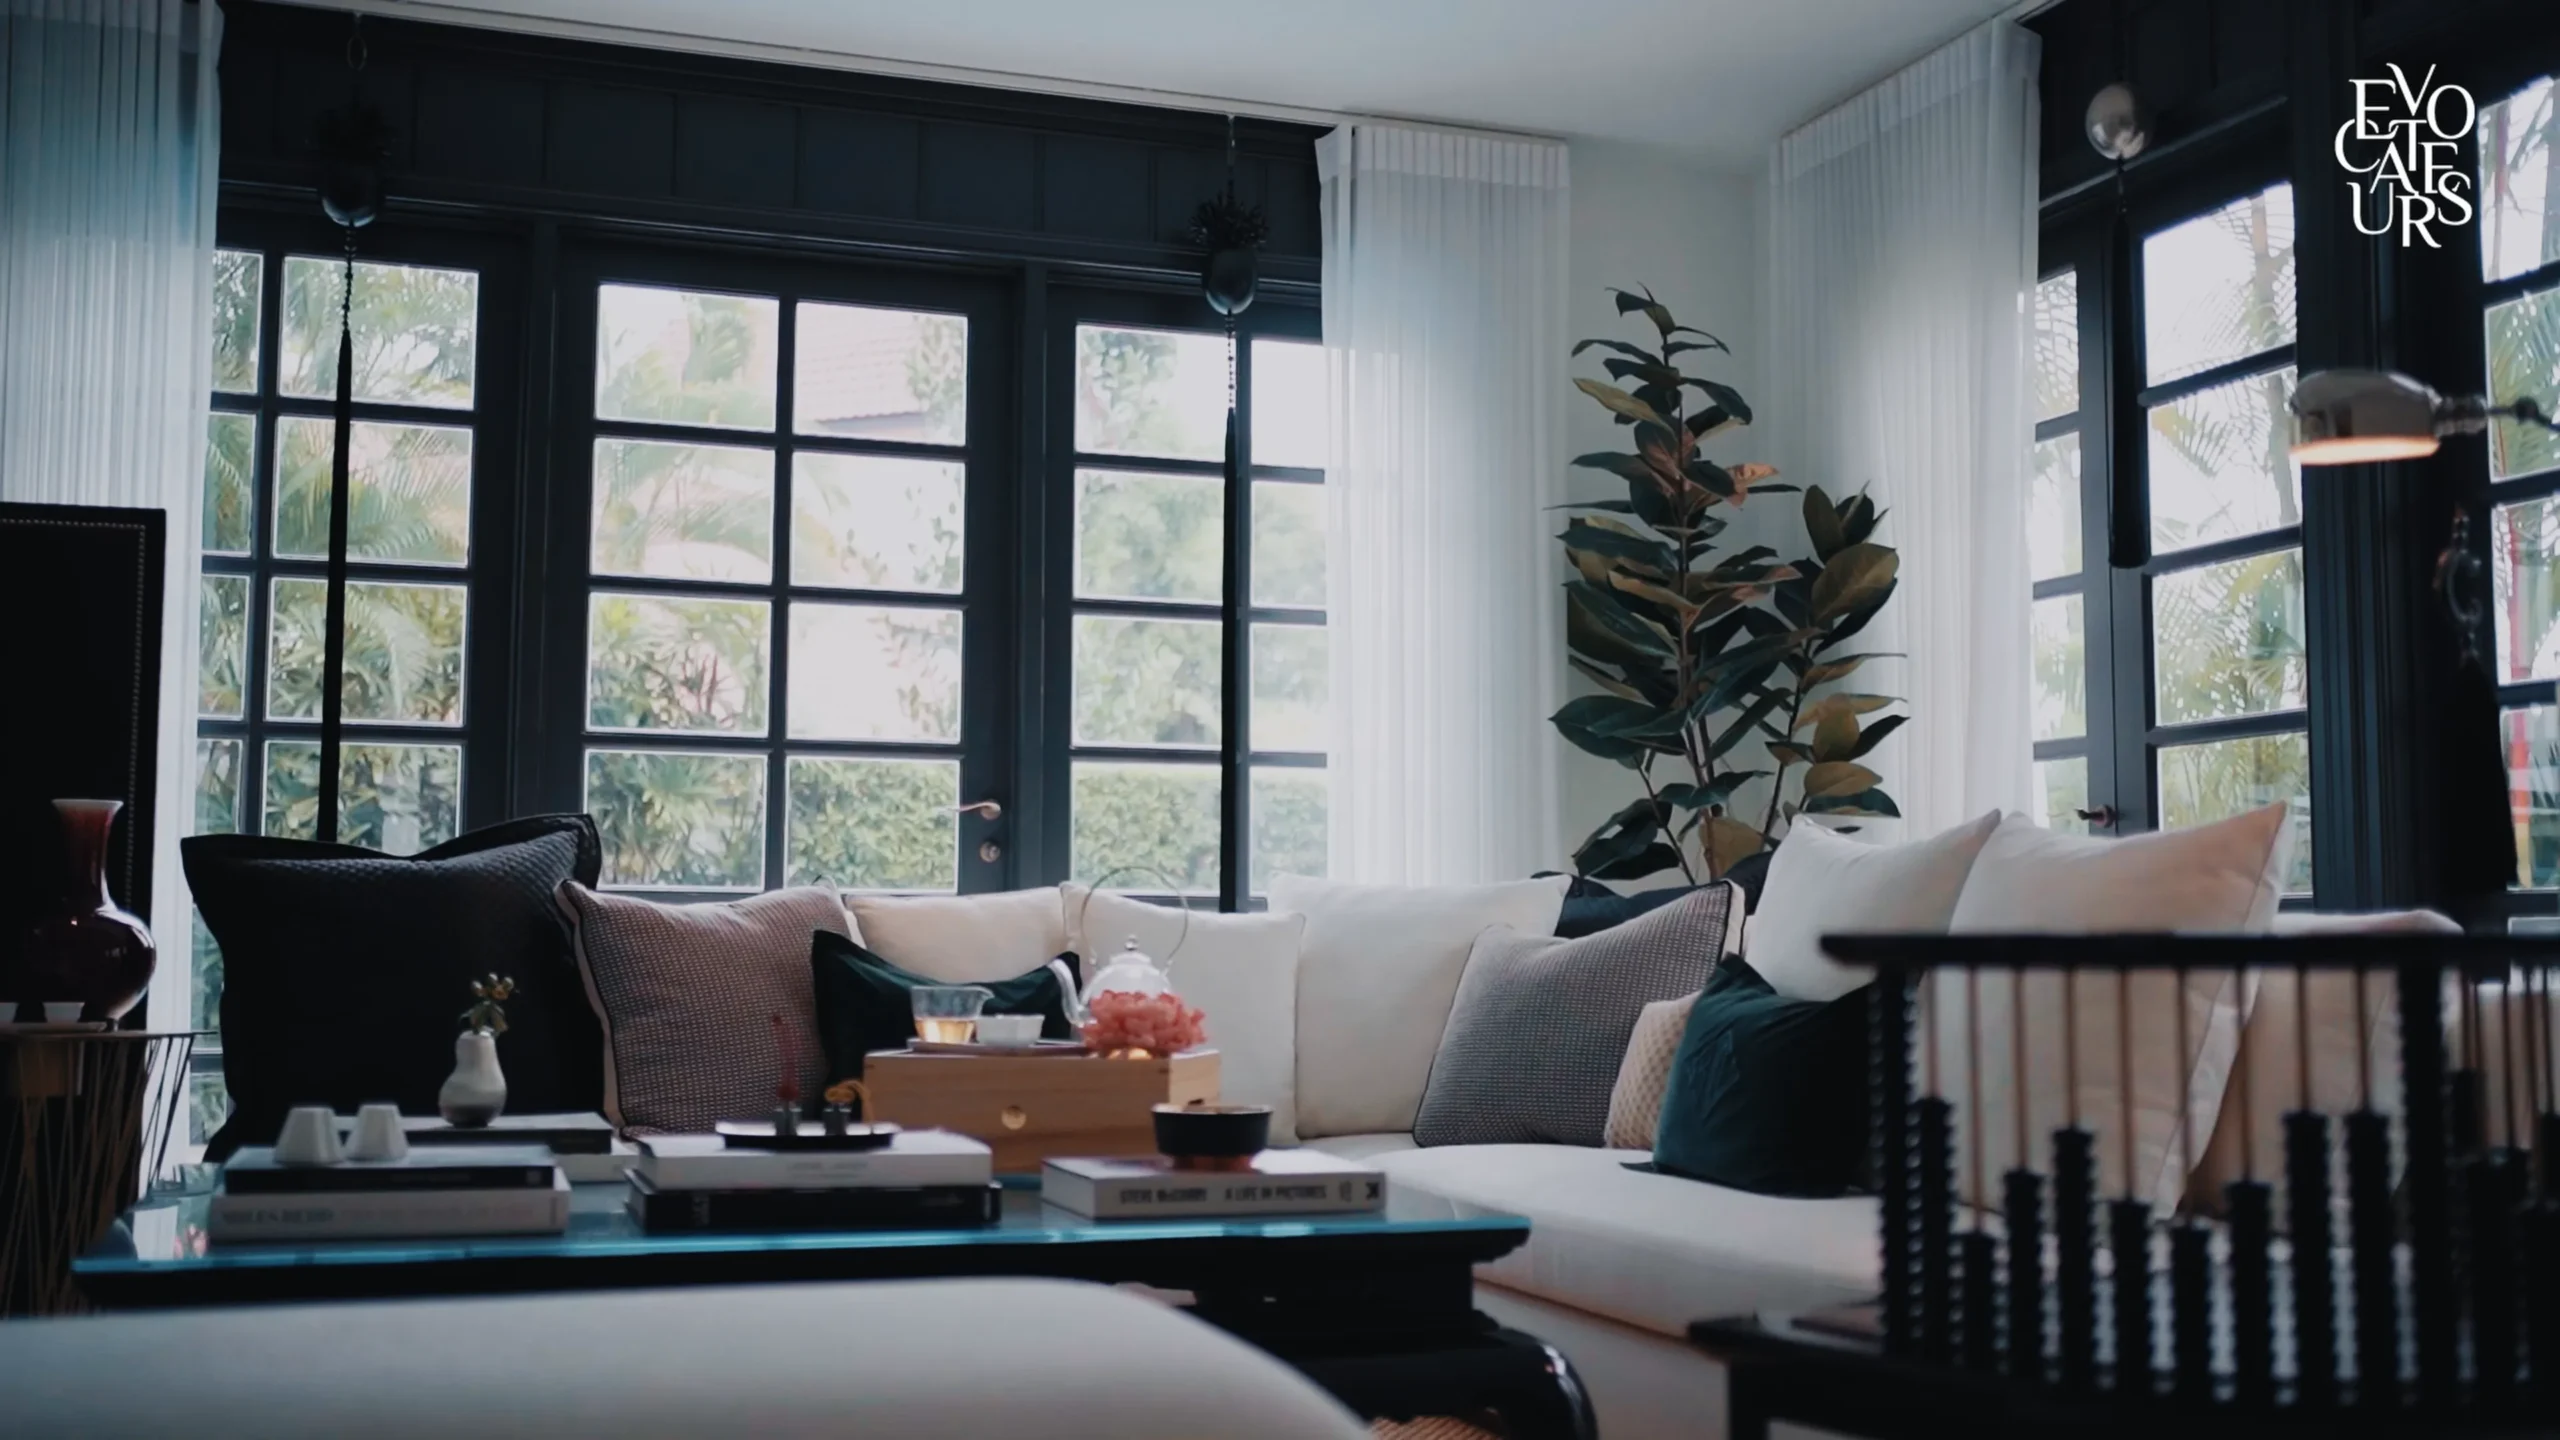
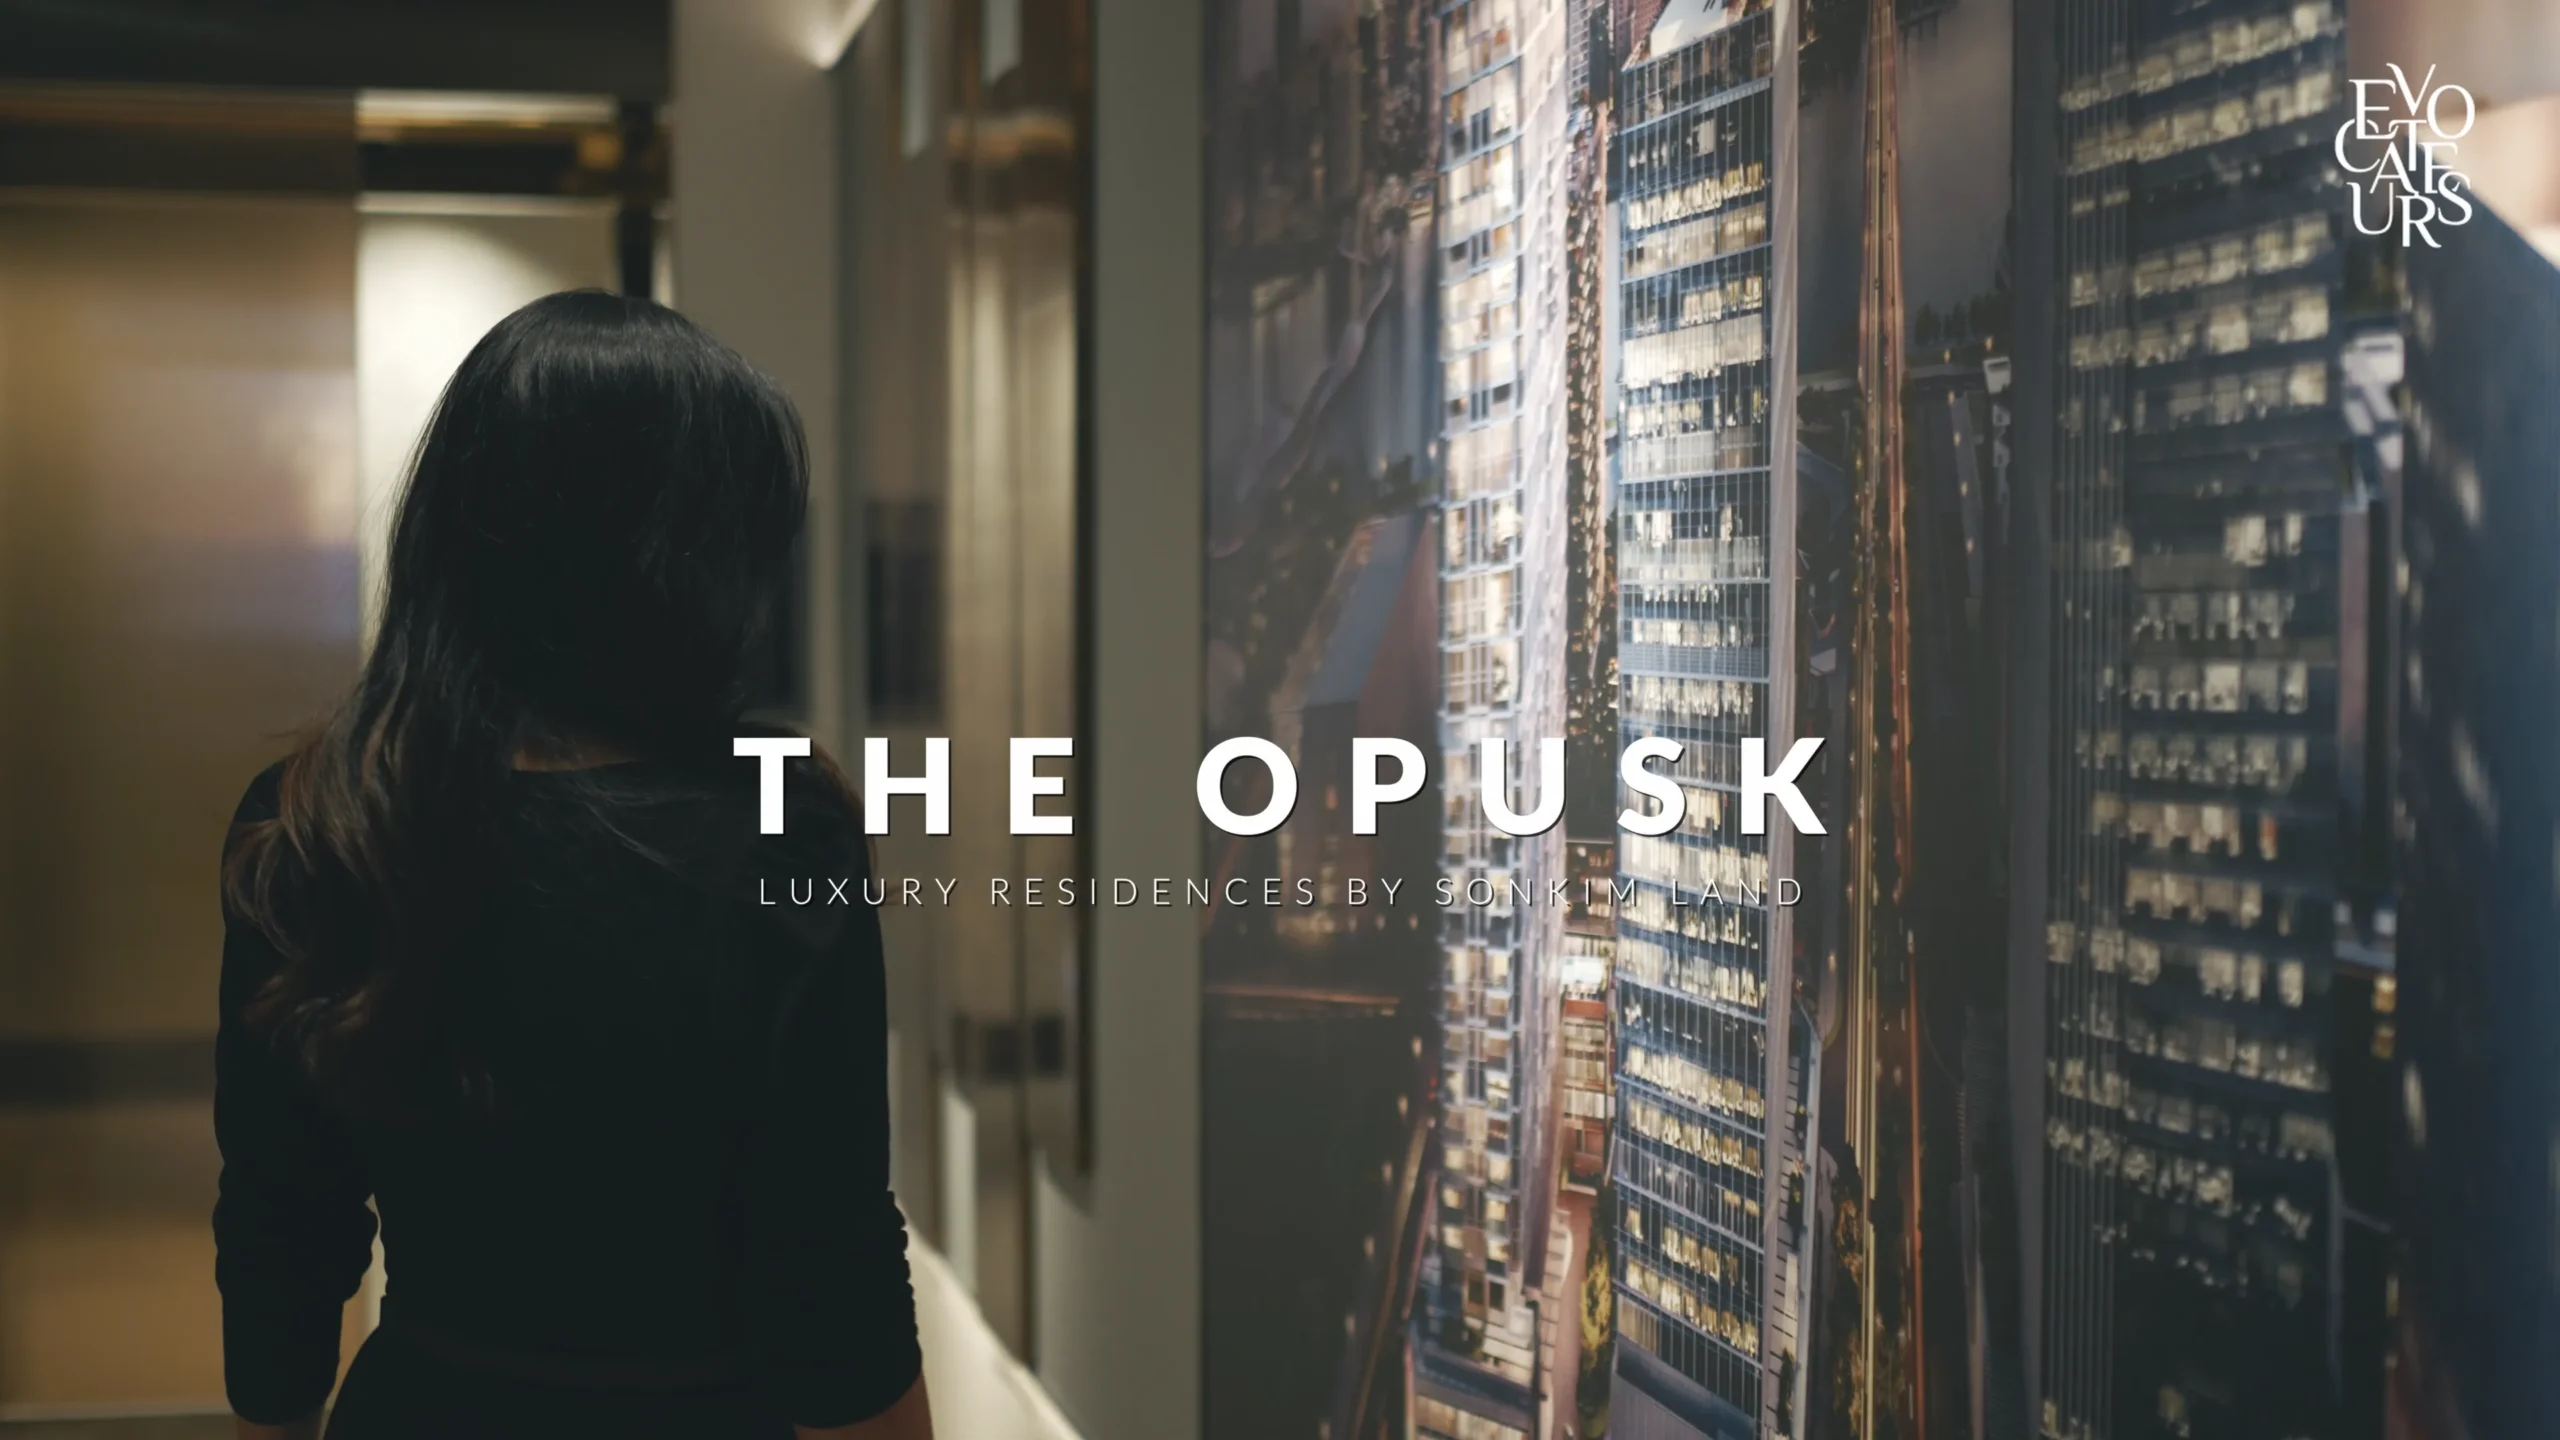
In today’s world, where content is everything, we’ve worked with interior design companies and global developers like SonKim Land for their ultra luxury real estate ‘The OpusK’ launches. Videos are essential for more than just style—they’re necessary for capturing the luxurious feel of high-end homes and presenting them well. Making sure your content is consistent is becoming more important, as people look for a mix of visual appeal and experience.

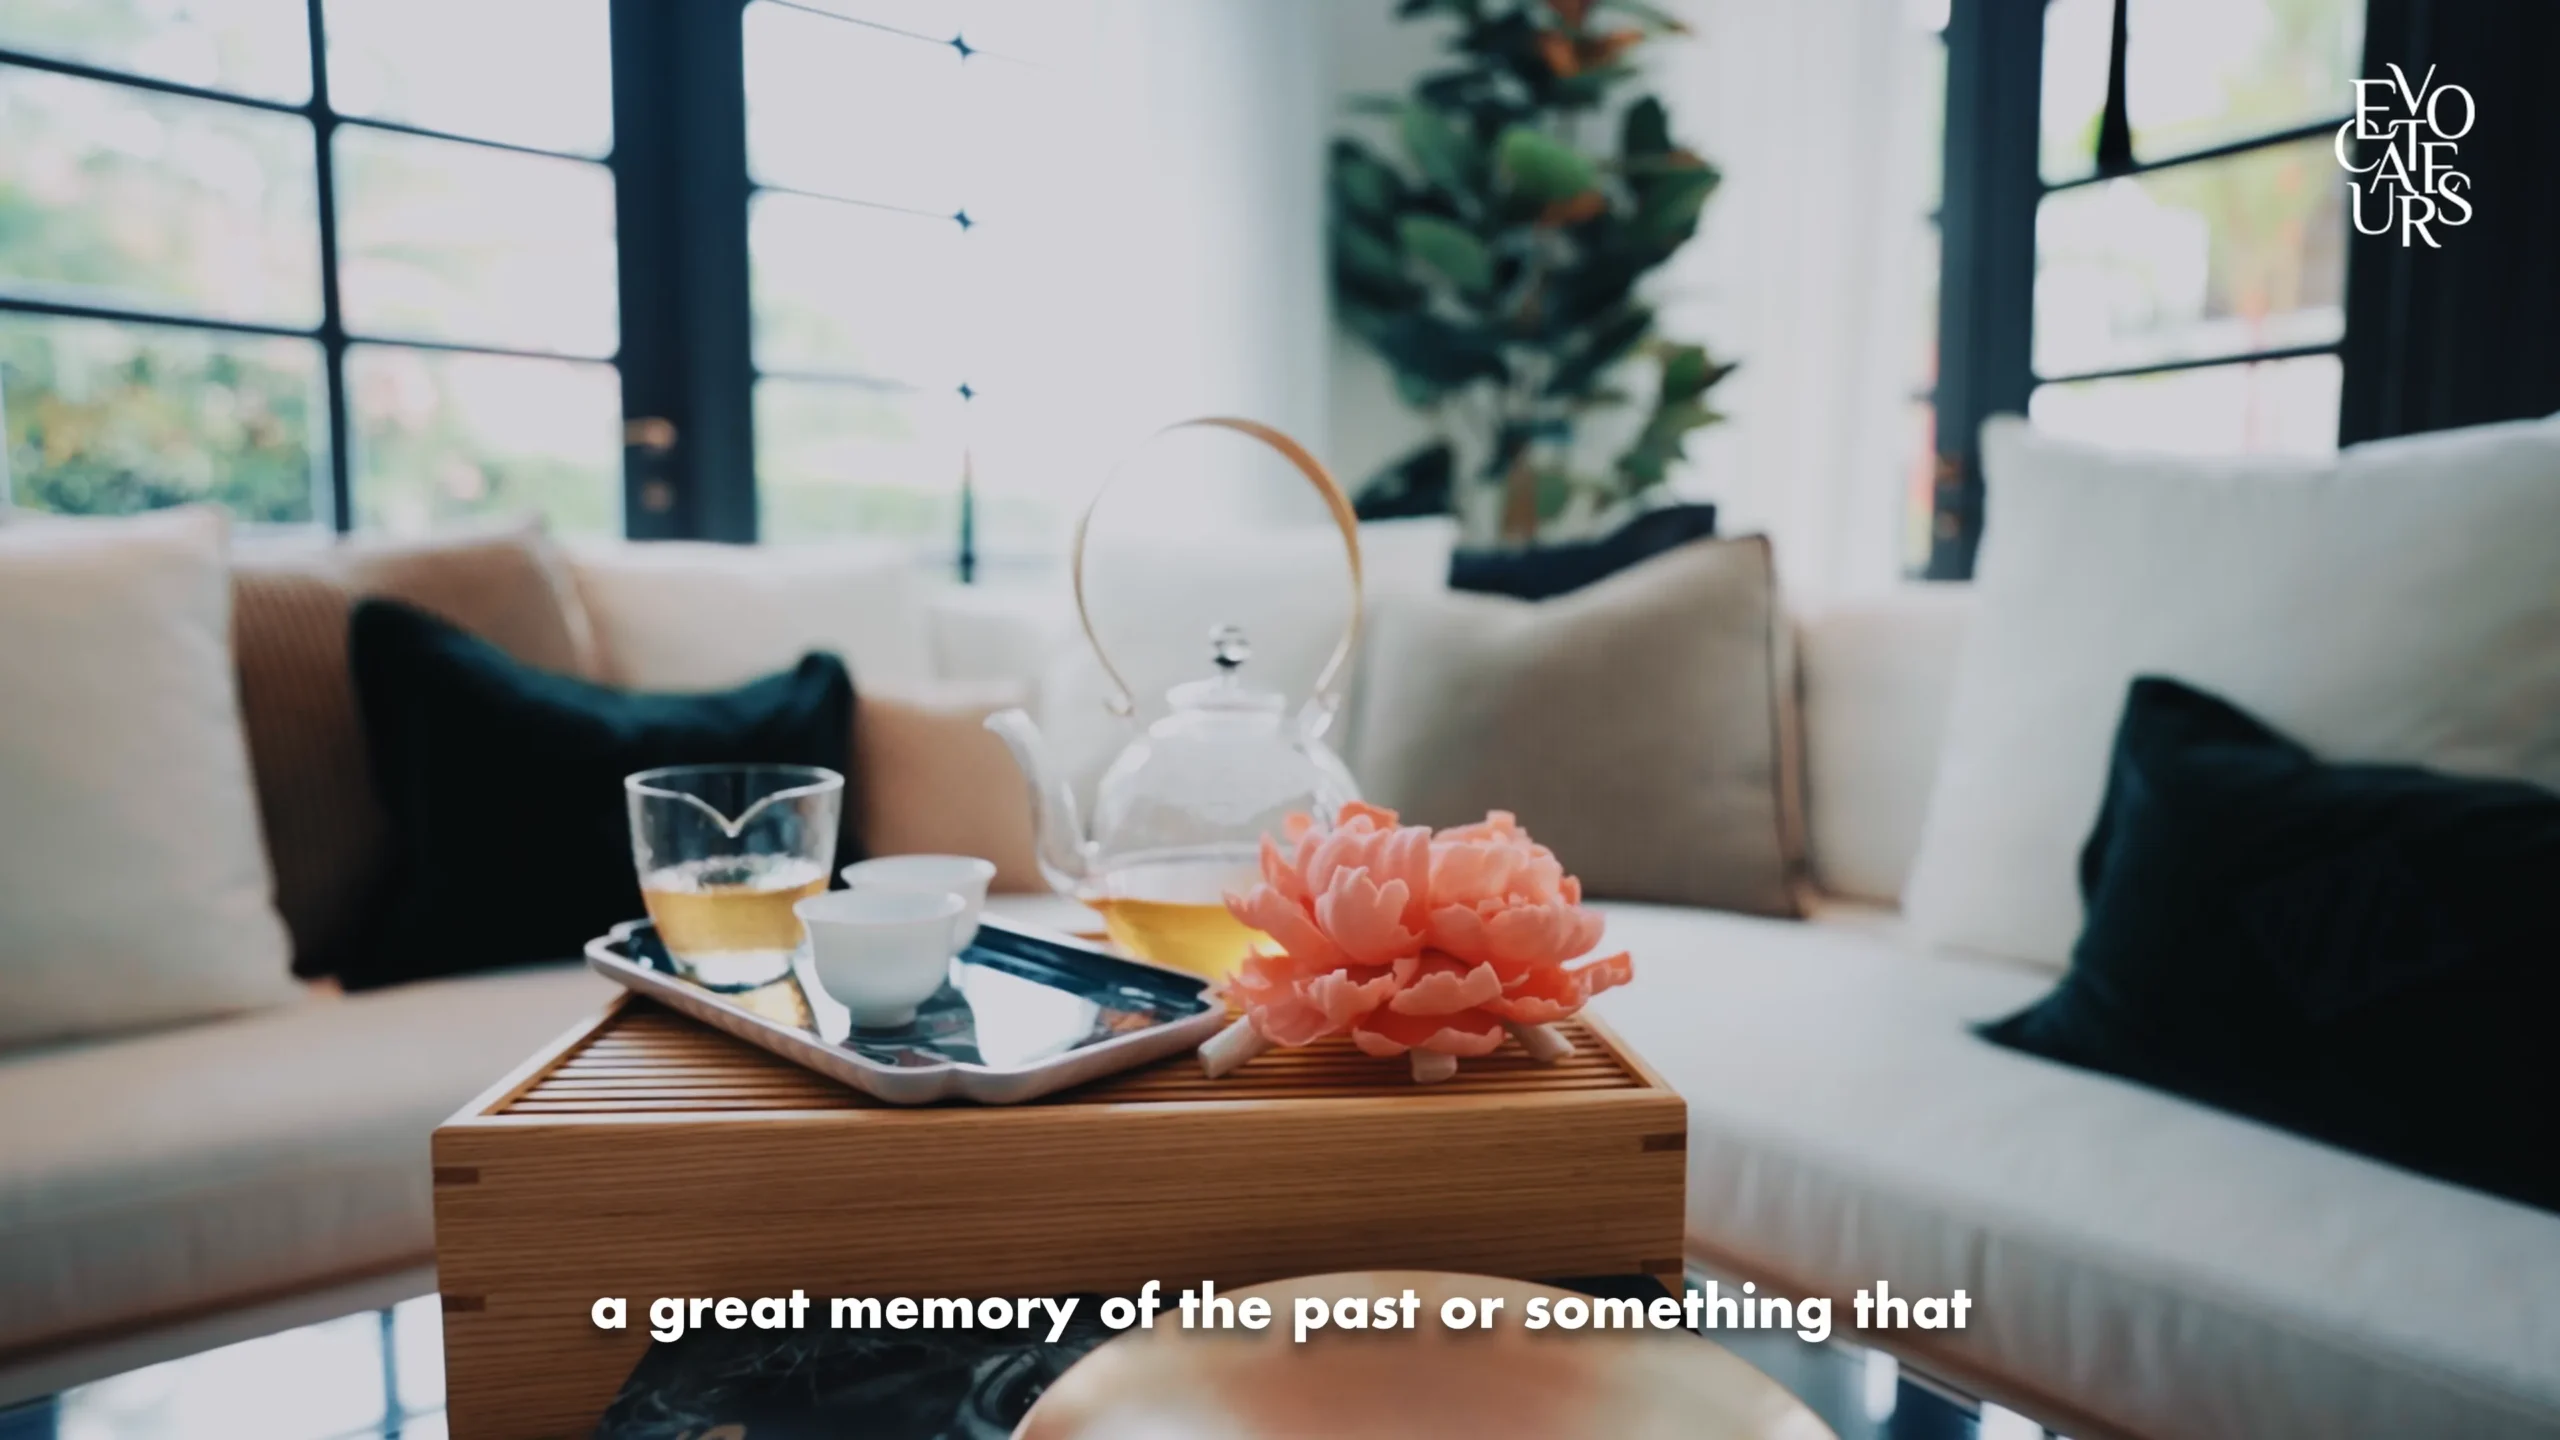
Interior design firms, such as Evocateurs and The Mill Group, are looking for high-quality video productions. The choice of music, camera movement, and techniques like dynamic depth of field add a realistic touch, helping viewers feel like they’re actually in the space. Small choices, like lens focal length, also matter—a 35mm lens can make an interview feel realistic, while a 50mm lens brings a closer, more personal view, as if the developer is speaking directly to the viewer. These small details set premium video services apart.

It’s important to match your company’s video style with your design philosophy, whether that’s minimalist, gothic, Bauhaus, or something else. For instance, if you’re designing a home for clients who are musicians and love vibrant colors, using classical music in the video might not fit the aesthetic. Instead, choosing pop or hip-hop would better match their style and personality. Every client and design project is unique.

At Passion Fuels Ambition, we believe that every space has a personality. Each video choice should enhance that personality and match the space’s style.

Video demand is high on platforms like Instagram, YouTube, and Reels, with algorithms that favor both quality and frequency. A single interior video production is useful for events or ads, but it’s not enough for a longer content strategy.

Our clients, like Evocateurs, make the most of a single filming session by repurposing the footage for different uses, like website animations, mobile-friendly WhatsApp clips, and Instagram Reels. A single shoot can turn into four or five pieces of content, which lasts about a month and provides valuable ad material to boost sales.

In a competitive market like Singapore, interior space videos don’t just attract clients; they help designers stand out.

Choosing the Right Equipment for Interior Space Videos

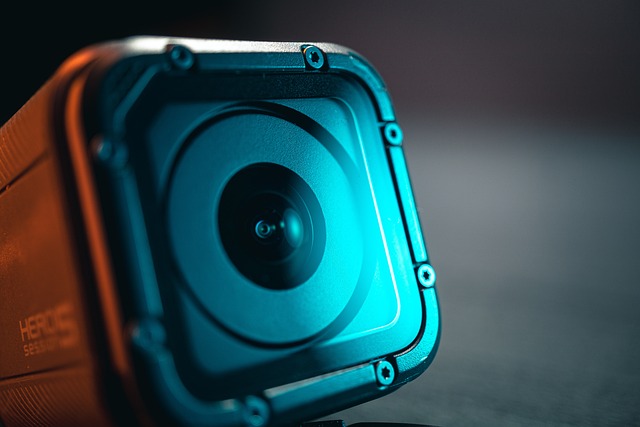
At Passion Fuels Ambition, we recommend filming interior spaces with full-frame cameras that capture in 4K 10-bit 422 format. This setup is perfect for color grading, allowing more detailed color adjustments in post-production so that the colors of your design come out accurately and look authentic.

Our top camera choices include the Sony FX3, Sony a7IV, and a7SIII, as they meet our standards for quality and keep visuals true to life.

We use only prime lenses for the sharpness and image quality they provide over zoom lenses. While zoom lenses are easier to use, they don’t match the quality of primes. For interviews, we often choose 50mm or 55mm lenses based on client feedback, as these give a natural, direct connection with viewers. All our lenses, from 16mm to 135mm, have an f1.8 aperture or better to ensure great depth and image quality.

Lighting is essential, especially to highlight details and enhance interviews. We use RGB Falcon Eyes flex panels with 100–120 watts of power and a softbox to create a balanced look. This setup brings out important features without needing a long setup time.

For sound, we use 32-bit float recording equipment, which captures every detail. This tech allows for sound adjustments in editing without adding noise, so we get clear audio even if there are sudden loud sounds, which we can fix later.

In short, at Passion Fuels Ambition, we use top-quality equipment—from cameras and lenses to lighting and audio—to fully respect and showcase our clients’ designs. This focus on quality helps us create professional interior design videos.

Unique Interior Design Video Concepts That Capture Attention

Depending on the needs of different clients, we use various kinds of video concepts. For instance, in our collaboration with Vermilion, we created a video that was essential. We decided to let the designers and founders discuss their ideas in a session. At the same time, we showcased how the spatial designs and space reflect the authenticity of their conversation. This approach helps to build trust and evoke the luxurious interior design and furniture, effectively binding the concepts together. This method has been well received by their audience.


Additionally, for Shinrai, a local Japanese restaurant, we chose music and editing elements to present a unique style, details, and spatial feel in a very short reel. We come up with different strategies for designing video concepts. These can communicate effectively to your audience and can be customized to suit everyone’s aesthetic preferences. Our goal is to present your interior design as quickly and effectively as possible.

Stunning Walkthrough Videos: A Must-Have for Any Interior Designer’s Portfolio

Walkthrough videos are crucial for any design firm. They allow potential clients to experience your space quickly and easily. When various projects are combined to create a cohesive real or walkthrough video compilation, it showcases your company’s taste and expertise in creating immersive designs without a single word.


Depending on the client’s preferences, we sometimes create walkthroughs with no talking at all. Instead, these videos focus on walking through the space, feeling the smooth movement, and highlighting key design features. This approach creates an unforgettable experience.

Leveraging Social Media Testimonials for Interior Space Videos

It’s crucial for you to enhance your social media strategies by incorporating interior design videos. However, simply showcasing designs can be quite dull. Including customer experiences, feedback, and interviews from their own spaces can make a significant difference. These testimonials are extremely important for maximizing engagement and reach.

Testimonials have become invaluable in a competitive market, as they connect emotionally with viewers and serve as social proof of the quality of your service. They also highlight your expertise in customer management. Remember, this approach not only respects the physical space but also honors the client’s personality.

Therefore, align your video productions to create engaging and professional content. Showing that you care about your customers will help you deliver a perfect final outcome.

We deliver first draft within 12hrs, or We Work For Free!

Delivering interior design videos on time is always crucial, as is receiving timely feedback. At Passion Field Ambitions, our team is highly skilled and experienced in video production. We have a strict rule that everyone knows: if we don’t deliver the first draft within the first 12 hours, we work for free. We believe in the power of a strong first draft because it sets the tone, mood, and aesthetic for the entire film production. There’s no point in dragging out the production for weeks only to find it doesn’t match your style.

We value the first 12 hours after a shoot to deliver our first draft, allowing everyone to see the direction the project is heading. Our ability to usually close a project within one week is also due to our superior feedback platform. This platform allows you to provide feedback directly in the portal, and any comments you make are immediately reflected on my editing timeline. This system minimizes the chance of missing feedback and helps us close and tidy the loop efficiently.

At Passion Field Ambitions, we are committed to serving our customers to the best of our ability and delivering the best results in the shortest possible time. We avoid dragging out production time because we don’t believe in charging by the hour, which could compromise our efficiency.

Additionally, we have a fully encrypted video and file transfer server that allows us to exchange files up to 100GB anytime. This avoids flooding your messages with files through traditional apps like WhatsApp or Telegram. We can collect and send all the essential files and productions in the same space without requiring you to log in.

Our approach to client service has been highly regarded and well-received, and we will continue to strive for excellence in this field.
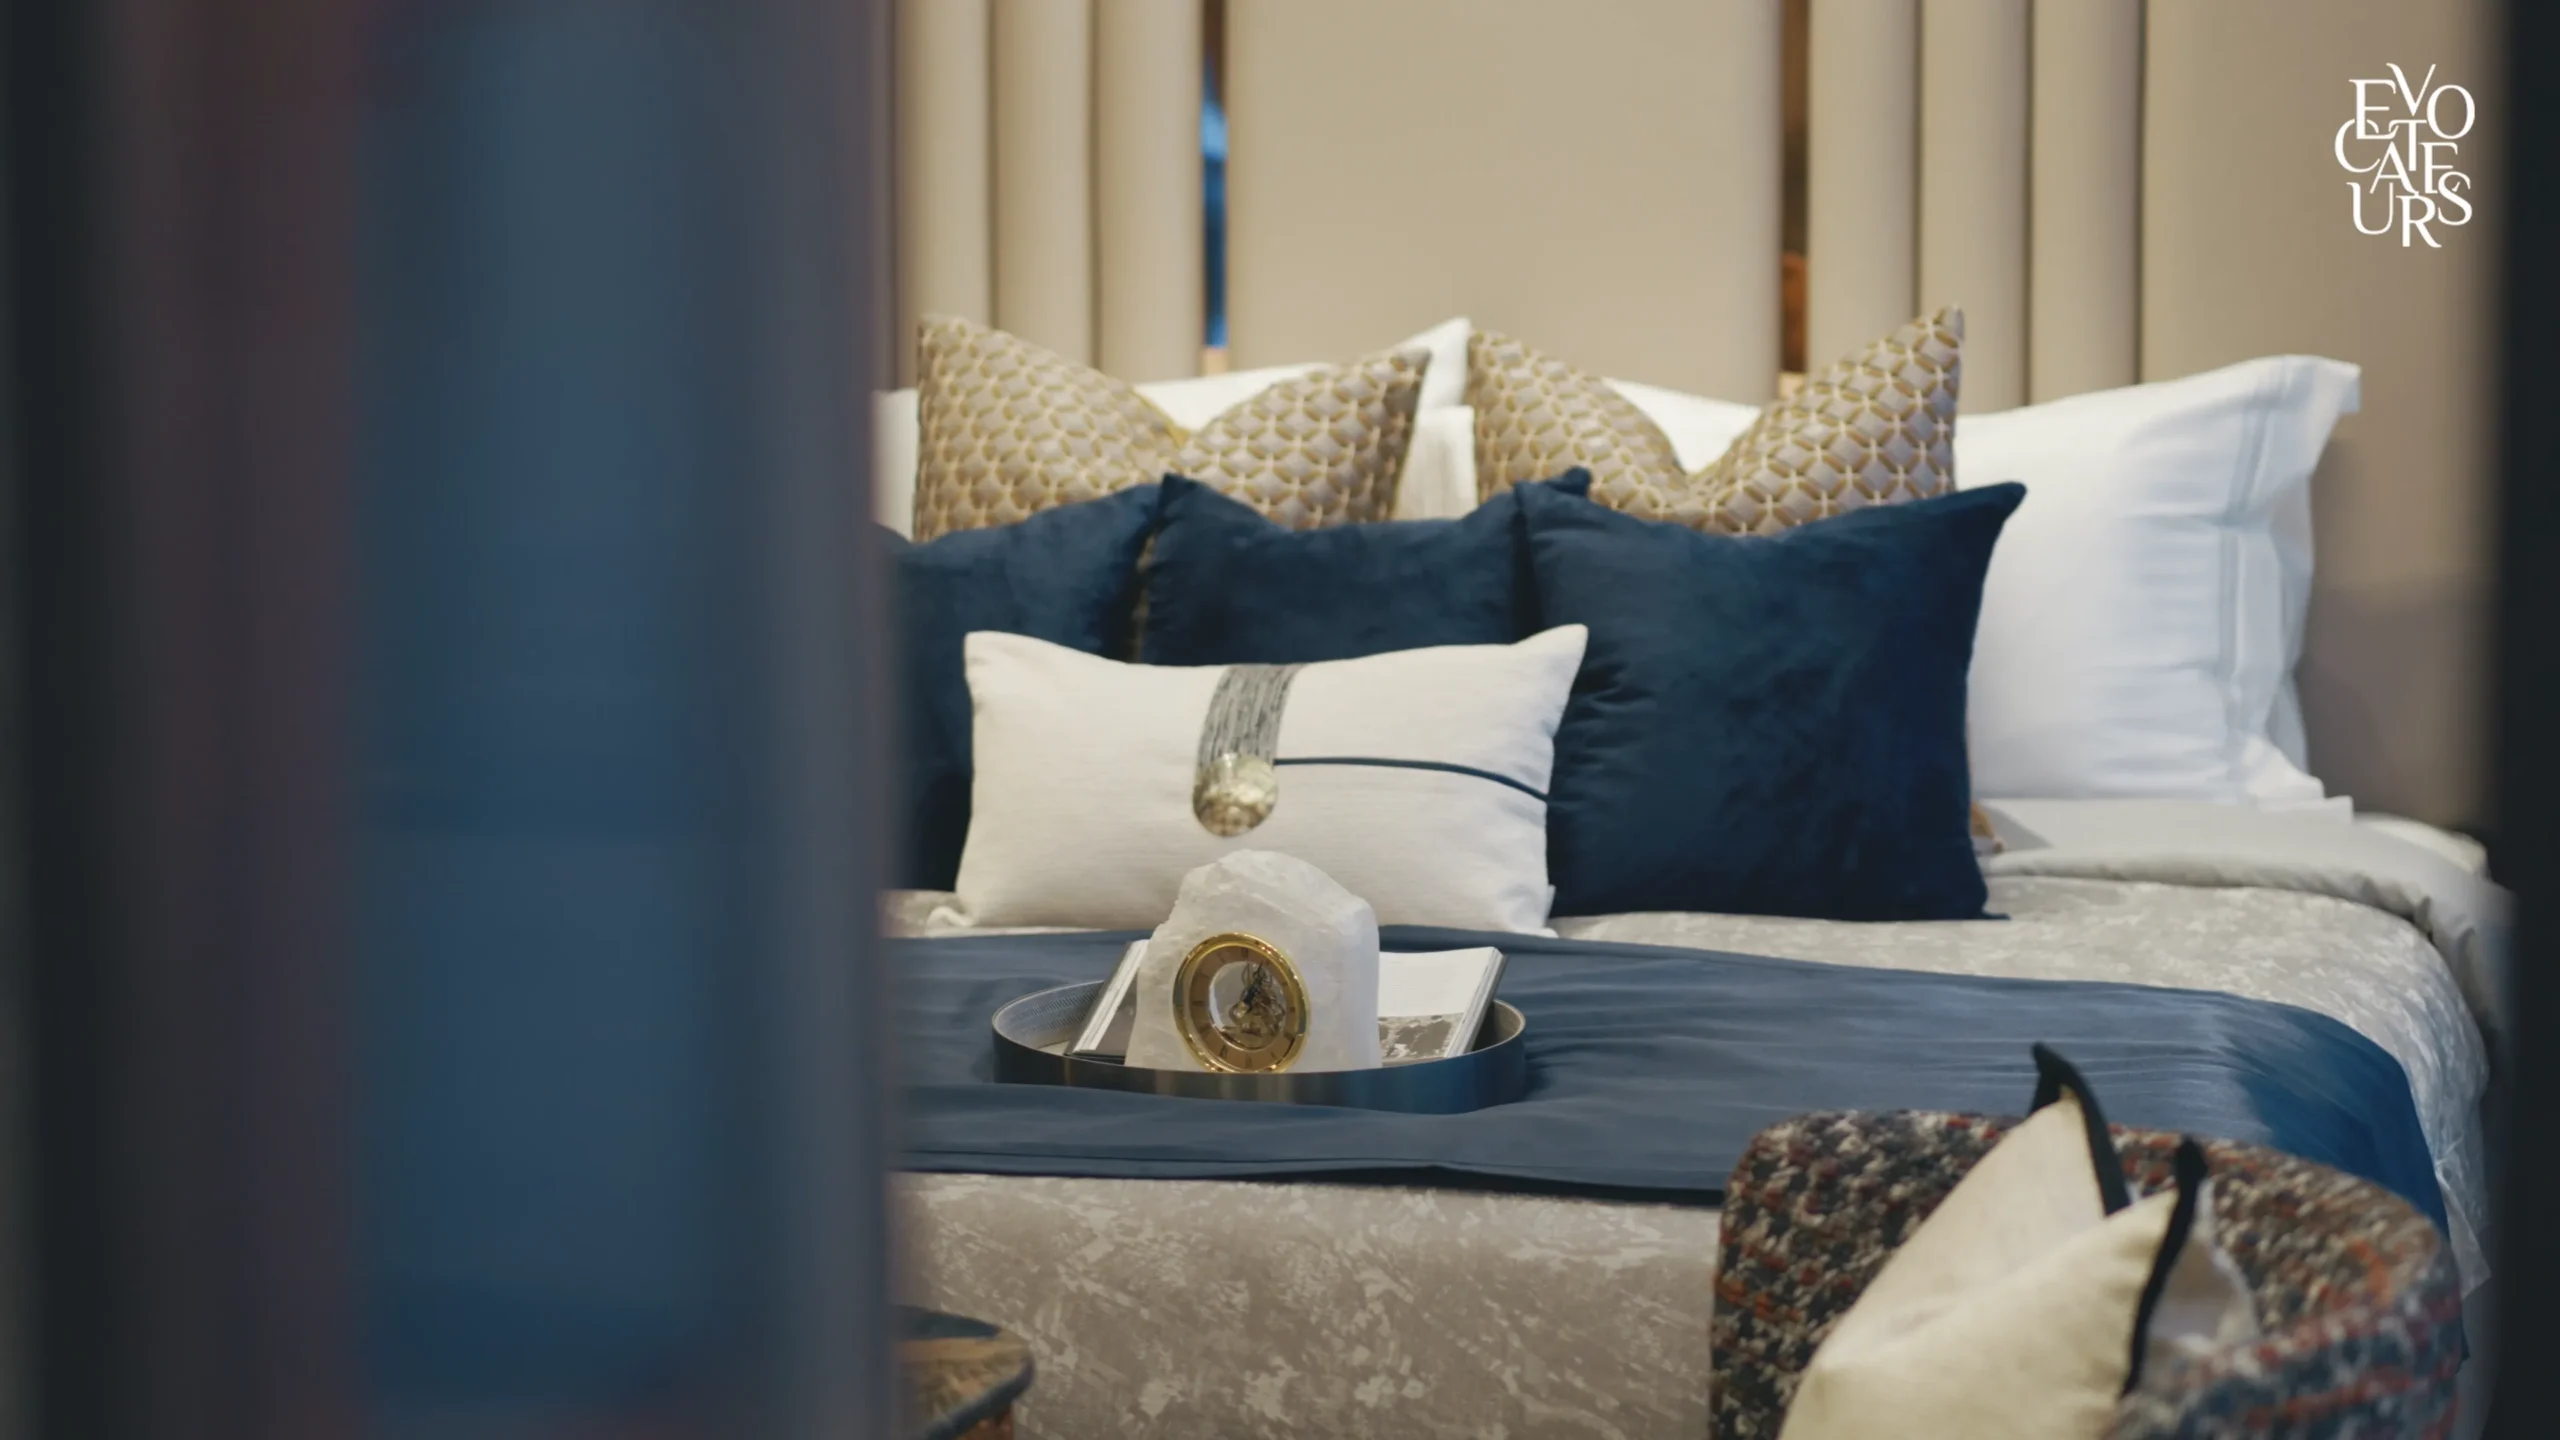
Conclusion: Boost Your Interior Design Brand with Professional Videography

We sincerely hope to collaborate with you to enhance and beautify each of your essential designs. Please feel free to reach out to us by email or by submitting the form below. We are always eager to assist you and feel very fortunate to have you with us. We aim to continue providing our best service to every client.

Passion is the starting point for everything we do. More of our portfolio can be found here!

Service Request Form

Master Color Grading with Free LUTs for Final Cut Pro

Photo Color grading

Color grading is an essential aspect of the post-production process that can dramatically alter the mood and tone of a film or video project. As I delve into this fascinating world, I realize that color grading is not merely about adjusting colors; it’s about storytelling. The hues, saturation, and contrast I choose can evoke emotions, guide the viewer’s attention, and even influence their perception of the narrative.

By manipulating colors, I can create a sense of warmth or coldness, highlight specific elements within a scene, or even establish a particular time of day. This intricate dance of colors allows me to breathe life into my footage, transforming raw images into a cohesive visual experience that resonates with my audience. Moreover, understanding color grading involves familiarizing myself with the various tools and techniques available.

From primary corrections that adjust overall exposure and color balance to secondary corrections that target specific areas within a frame, each step in the grading process is crucial. I often find myself experimenting with different color wheels, curves, and sliders to achieve the desired look. The beauty of color grading lies in its subjectivity; what works for one project may not suit another.

This realization drives me to continuously learn and adapt my skills, ensuring that I can effectively convey the story I want to tell through my unique visual style and free luts for final cut pro.

Key Takeaways

  • Color grading is the process of enhancing and altering the color of a motion picture, video image, or still image.
  • LUTs, or Look-Up Tables, are preset color grading profiles that can be applied to footage to achieve a specific look or style.
  • Free LUTs can be easily used in Final Cut Pro by importing them into the software and applying them to your footage.
  • Free LUTs can be found and downloaded from various websites and online platforms that offer a wide range of options for different styles and looks.
  • Applying LUTs to your footage in Final Cut Pro is a simple process that can greatly enhance the visual appeal of your project.

Introduction to LUTs

LUTs, or Look-Up Tables, are powerful tools in the realm of color grading that have revolutionized how I approach my projects. Essentially, a LUT is a preset color profile that allows me to apply a specific look to my footage with just a few clicks. This efficiency is particularly beneficial when I’m working on tight deadlines or when I want to maintain consistency across multiple clips.

By using LUTs, I can quickly achieve a polished and professional appearance without spending hours on manual adjustments. The versatility of LUTs means that they can be used for various styles, from cinematic looks to vibrant and stylized aesthetics. As I explore the world of LUTs further, I discover that they come in various formats and can be applied across different editing software.

Whether I’m using Final Cut Pro, Adobe Premiere Pro, or DaVinci Resolve, there’s a LUT out there that can enhance my footage. The beauty of LUTs lies not only in their convenience but also in their ability to inspire creativity. When I apply a particular LUT to my footage, it often sparks new ideas and directions for my project.

This transformative power makes LUTs an invaluable resource in my toolkit as I strive to elevate my storytelling through visual artistry.

How to Use Free LUTs in Final Cut Pro


Using free LUTs in Final Cut Pro is a straightforward process that can significantly enhance my editing workflow. First, I need to ensure that I have the LUT files downloaded and saved on my computer. Once I open Final Cut Pro, I navigate to the Effects panel and search for the “Custom LUT” effect.

By dragging this effect onto my clip in the timeline, I can access the settings where I can load my chosen LUT file. This simple drag-and-drop method allows me to apply a professional-grade look to my footage without any hassle. After applying the LUT, I often find myself adjusting its intensity to better suit my vision.

Final Cut Pro provides me with a slider that allows me to control how strongly the LUT affects my footage. This feature is particularly useful because it enables me to blend the LUT with the original colors of my clip, creating a more nuanced look. Additionally, I can combine multiple effects and adjustments alongside the LUT to further refine my project.

The flexibility offered by Final Cut Pro empowers me to experiment and find the perfect balance between the LUT’s impact and my creative intent.

Finding and Downloading Free LUTs

The internet is a treasure trove of resources for finding free LUTs that can elevate my projects without breaking the bank. Numerous websites offer high-quality LUTs created by talented filmmakers and colorists who share their work with the community. As I browse through these platforms, I often come across collections tailored for specific genres or moods, allowing me to find exactly what I need for my current project.

Websites like passionfuelsambition.com/shop-2 provide an array of options that cater to different styles and preferences, making it easy for me to discover new looks that resonate with my artistic vision. Downloading free LUTs is typically a simple process; most sites allow me to click a download button and save the files directly to my computer. However, it’s essential for me to ensure that I’m downloading from reputable sources to avoid any potential issues with quality or compatibility.

Once I have the LUT files saved, I organize them into folders on my computer for easy access during my editing sessions. This organization not only saves me time but also allows me to quickly experiment with different looks as I work on various projects.

Applying LUTs to Your Footage

Once I’ve found and downloaded the perfect LUTs for my project, applying them to my footage becomes an exciting part of the editing process. In Final Cut Pro, after dragging the Custom LUT effect onto my clip, I navigate through the settings to select the specific LUT I’ve chosen. As soon as I apply it, I can see an immediate transformation in my footage; colors pop, shadows deepen, and highlights become more pronounced.

This instant gratification fuels my passion for color grading and inspires me to explore further adjustments. However, applying a LUT is just the beginning of the journey. After seeing how the LUT interacts with my footage, I often take time to fine-tune other aspects of the clip.

For instance, adjusting exposure levels or tweaking contrast can help enhance the overall look even more. Sometimes, I find that certain clips require additional color correction after applying a LUT to ensure consistency across all scenes. This iterative process allows me to refine my work until it aligns perfectly with my creative vision.

Customizing LUTs for Your Project

While LUTs provide an excellent starting point for color grading, customizing them is where the real magic happens. After applying a LUT to my footage, I often find myself wanting to tweak certain elements to better fit the mood or style I’m aiming for. For instance, adjusting saturation levels can help bring out specific colors that may have been muted by the LUT’s application.

Additionally, playing with shadows and highlights allows me to create depth and dimension within each shot, ensuring that every frame tells its own story. Moreover, customizing LUTs also involves understanding how they interact with different types of footage. For example, if I’m working with footage shot in low light conditions or under harsh lighting, I may need to make more significant adjustments than if I’m working with well-lit scenes.

This adaptability is crucial as it allows me to maintain consistency throughout my project while still achieving a unique look tailored specifically for each scene. By embracing this customization process, I’m able to elevate my work beyond standard presets and create something truly original.

Tips and Tricks for Effective Color Grading

As I continue honing my color grading skills, I’ve gathered several tips and tricks that have proven invaluable in achieving effective results. One of the most important lessons I’ve learned is the significance of monitoring scopes while grading. Using tools like waveform monitors and vectorscopes helps me analyze exposure levels and color balance accurately.

By keeping an eye on these scopes throughout the grading process, I’m able to make informed decisions that enhance both technical quality and artistic expression in my work. Another essential tip is to always start with a solid foundation through primary color correction before diving into creative grading with LUTs. By ensuring that my footage is properly exposed and balanced first, I set myself up for success when applying LUTs later on.

This foundational work allows me to maximize the potential of each LUT while minimizing unwanted artifacts or color shifts that could detract from the final product. Ultimately, these practices not only improve the quality of my work but also instill confidence in my abilities as a filmmaker.

Final Thoughts and Further Resources

In conclusion, color grading is an art form that requires both technical knowledge and creative intuition. As I’ve explored various aspects of this process—from understanding color theory to utilizing LUTs—I’ve come to appreciate how vital it is in shaping narratives through visual storytelling. The ability to manipulate colors effectively allows me to evoke emotions and create immersive experiences for viewers.

With resources like passionfuelsambition.com/shop-2 at my disposal, I’m excited about continuing this journey and discovering new ways to enhance my projects. For those looking to deepen their understanding of color grading further, there are countless resources available online—tutorials, forums, and communities dedicated to sharing knowledge and techniques. Engaging with fellow filmmakers and colorists has opened up new perspectives for me and has been instrumental in refining my skills over time.

As I continue exploring this dynamic field, I’m eager to see how color grading will evolve alongside advancements in technology and storytelling methods in the years ahead.

If you’re looking for resources to enhance your video editing skills, particularly with Final Cut Pro, you might also be interested in exploring other free tools that can boost your creative projects. For instance, the article on unlocking your writing potential with free AI tools offers insights into various AI-powered resources that can help you with content creation, not just in writing but potentially in scripting and storyboarding for your video projects. These tools can be a great complement to free LUTs for Final Cut Pro, enhancing your overall production workflow.

FAQs

What are LUTs for Final Cut Pro?

LUTs, or Look-Up Tables, are files that contain color grading presets used to apply a specific look or color correction to video footage in Final Cut Pro.

Where can I find free LUTs for Final Cut Pro?

There are various websites and online communities that offer free LUTs for Final Cut Pro. Some popular sources include official Final Cut Pro forums, LUT libraries, and social media platforms where creators share their custom LUTs for free.

How do I install free LUTs in Final Cut Pro?

To install free LUTs in Final Cut Pro, you can simply drag and drop the LUT files into the LUTs folder within the application’s package contents. Alternatively, you can use the built-in LUT browser in Final Cut Pro to import and apply LUTs to your footage.

Are free LUTs for Final Cut Pro of good quality?

The quality of free LUTs for Final Cut Pro can vary depending on the source and creator. It’s important to review and test the LUTs before using them in your projects to ensure they meet your quality standards and work well with your footage.

Can I create my own LUTs for Final Cut Pro?

Yes, you can create your own LUTs for Final Cut Pro using color grading software or by manually adjusting the color and tone of your footage. Once created, you can save and apply your custom LUTs to achieve a consistent look across your projects.

free luts for final cut pro

Enhance Your Videos with Free LUTs

Photo Color grading

As a passionate creator, I have always been fascinated by the transformative power of color in visual storytelling. LUTs, or Look-Up Tables, have become an essential tool in my video editing arsenal, allowing me to enhance the mood and aesthetic of my projects with just a few clicks. These powerful files serve as a bridge between the raw footage I capture and the polished final product I envision.

By applying a LUT, I can instantly alter the color palette, contrast, and overall tone of my videos, elevating them to a level that resonates with my audience. The beauty of LUTs lies in their versatility; whether I’m working on a vibrant travel vlog or a moody short film, there’s a LUT that can help me achieve the desired effect. In my journey as a filmmaker, I’ve come to appreciate how LUTs can streamline my workflow while also providing endless creative possibilities.

They allow me to experiment with different looks without the need for extensive color grading knowledge. With just a few adjustments, I can create a signature style that reflects my artistic vision. As I delve deeper into the world of LUTs, I find myself constantly inspired by the ways they can transform my footage, making it not just visually appealing but also emotionally engaging.

This article will explore the various aspects of LUTs, from where to find them to how to effectively incorporate them into my video editing process.

Key Takeaways

  • LUTs, or Look-Up Tables, are used in video editing to apply color grading and create a specific visual style.
  • Free LUTs can be found on various websites and platforms, including professional filmmaking forums and social media groups.
  • Video editing software like Adobe Premiere Pro and Final Cut Pro allow users to easily apply LUTs to their footage for quick color grading.
  • When choosing the right LUT for your video, consider the mood and atmosphere you want to convey, as well as the specific color tones and contrasts.
  • Customizing LUTs allows you to create a unique visual style that reflects your personal brand or artistic vision.


Where to Find Free LUTs


Discovering Free LUT Resources Online

In my pursuit of the perfect LUTs, I’ve found numerous online resources offering free options that cater to my needs. Websites dedicated to filmmakers and content creators often provide free LUT packs that can be downloaded and used in various editing software. These resources are invaluable, especially for those just starting out or working with a limited budget.

Exploring Tutorials and Creative Communities

By exploring platforms like YouTube, I’ve come across tutorials that showcase how to use these free LUTs and provide links to download them directly. This has opened up a world of possibilities, allowing me to experiment with different styles without any financial commitment. Social media platforms like Instagram and Facebook have become hubs for creative communities where artists share their work and resources.

Accessing Free LUTs from Talented Creators

Many talented creators generously offer free LUTs as part of their promotional efforts or simply to give back to the community. By following these creators and engaging with their content, I’ve been able to access a treasure trove of free LUTs that have significantly enhanced my projects. It’s essential to remember that while free LUTs can be incredibly useful, they may not always provide the same level of quality or uniqueness as premium options.

Elevating Your Video Editing Game with Free LUTs

Nevertheless, free LUTs serve as an excellent starting point for anyone looking to elevate their video editing game. They offer a great way to experiment with different styles and techniques without breaking the bank, making them an invaluable resource for content creators and filmmakers.

How to Use LUTs in Video Editing Software


Once I’ve found the perfect LUT for my project, the next step is integrating it into my video editing software. Most popular editing programs, such as Adobe Premiere Pro, Final Cut Pro, and DaVinci Resolve, support LUTs and make it relatively straightforward to apply them to my footage. In Premiere Pro, for instance, I simply navigate to the Lumetri Color panel and import the LUT file.

From there, I can apply it directly to my clips and watch as the colors transform before my eyes. This process is not only efficient but also incredibly satisfying, as I see my raw footage evolve into something visually stunning. However, applying a LUT is just the beginning of the color grading process.

While LUTs provide a great starting point, I often find that further adjustments are necessary to achieve the exact look I’m aiming for. This might involve tweaking exposure levels, adjusting contrast, or fine-tuning individual color channels. Each project is unique, and I’ve learned that taking the time to customize my LUT application can make all the difference in achieving a polished final product.

By experimenting with different settings and combinations, I can create a look that is distinctly mine while still benefiting from the foundational work that the LUT provides.

Tips for Choosing the Right LUT for Your Video


LUT TypeUse CaseEffect
Technical LUTsColor CorrectionAdjust color balance and exposure
Creative LUTsColor GradingCreate specific looks and moods
Camera Specific LUTsMatching FootageMatch different camera footage
Custom LUTsPersonalized LookCreate unique and tailored looks

Choosing the right LUT for my video can sometimes feel overwhelming given the vast array of options available. One of the first things I consider is the mood and tone I want to convey through my footage. For instance, if I’m working on a romantic scene, I might lean towards warmer tones that evoke feelings of intimacy and warmth.

Conversely, for a dramatic moment, cooler tones might be more appropriate to enhance tension and emotion. By keeping the narrative in mind, I can narrow down my choices and select a LUT that complements the story I’m telling. Another crucial factor in selecting a LUT is understanding how it interacts with my specific footage.

Different cameras and settings can yield varying results when applying a LUT, so it’s essential for me to test out several options before settling on one. I often create a few test clips with different LUTs applied to see how they affect color balance and overall aesthetics. This trial-and-error approach allows me to find the perfect match for my project while ensuring that the final result aligns with my creative vision.

Ultimately, choosing the right LUT is about finding harmony between the technical aspects of color grading and the emotional resonance of my storytelling.

Customizing LUTs for Your Unique Style

While using pre-made LUTs can be incredibly helpful, I’ve found that customizing them is where the real magic happens. Each project has its own unique characteristics, and by tweaking existing LUTs, I can create something that truly reflects my personal style. Most editing software allows me to adjust parameters such as brightness, contrast, saturation, and hue after applying a LUT.

This flexibility enables me to fine-tune the look until it aligns perfectly with my vision. Moreover, I often experiment with layering multiple LUTs or combining them with other effects to achieve a more complex look. For example, I might apply one LUT for its base color grading and then overlay another for specific highlights or shadows.

This technique not only adds depth to my visuals but also allows me to create a signature style that sets my work apart from others. Customizing LUTs has become an integral part of my creative process; it’s where I can infuse my personality into each project while still benefiting from the foundational work that these tools provide.

Using LUTs to Create a Consistent Look Across Multiple Videos

Building a Strong Brand Through Visual Consistency

As a content creator, maintaining a consistent look across multiple videos is crucial for building my brand identity. By using specific LUTs tailored to my style, I can ensure that each piece of content feels cohesive and recognizable to my audience. This consistency not only enhances my visual storytelling but also reinforces my personal brand as a creator.

Developing a Signature Look

To achieve this uniformity, I often develop a signature LUT that embodies my aesthetic preferences. By applying this custom LUT across all my projects—whether they’re travel vlogs or narrative shorts—I create a visual language that resonates with viewers. Additionally, using this consistent approach allows me to streamline my editing process; once I’ve established my go-to LUTs, I can quickly apply them across new projects without having to start from scratch each time.

Efficiency and Creative Freedom

This efficiency frees up more time for me to focus on other creative aspects of filmmaking while ensuring that my work remains visually cohesive.

Understanding the Impact of LUTs on Color Grading

The impact of LUTs on color grading cannot be overstated; they serve as powerful tools that can dramatically alter the perception of my footage. When applied correctly, a well-chosen LUT can enhance colors in ways that evoke specific emotions or highlight particular elements within a scene. For instance, by using a vibrant LUT on a nature documentary, I can bring out the lush greens and blues of the landscape, immersing viewers in the beauty of nature.

Conversely, applying a desaturated or muted LUT can create an atmosphere of nostalgia or melancholy in narrative films. However, it’s crucial for me to understand that while LUTs are incredibly useful, they should not be relied upon as a one-size-fits-all solution. Each piece of footage has its own unique characteristics based on lighting conditions and camera settings; therefore, it’s essential for me to assess how each LUT interacts with these variables before finalizing my color grading choices.

By approaching color grading with an understanding of how LUTs function within this context, I can make informed decisions that elevate my storytelling while maintaining artistic integrity.

Best Practices for Incorporating LUTs into Your Video Editing Workflow

Incorporating LUTs into my video editing workflow has become second nature over time; however, there are several best practices I’ve adopted that have significantly improved my efficiency and results. One key practice is organizing my LUT library in a way that makes it easy for me to access different styles based on project needs. By categorizing them into folders—such as “warm tones,” “cool tones,” or “vintage looks”—I can quickly find what I’m looking for without wasting precious time sifting through countless files.

Another important aspect of using LUTs effectively is maintaining flexibility throughout the editing process. While it’s tempting to apply a favorite LUT right away and call it done, I’ve learned that revisiting color grading after completing other edits can yield better results. By waiting until I’ve finalized cuts and transitions, I can better assess how the colors interact with the overall flow of the video.

This approach allows me to make more informed decisions about which LUTs will enhance rather than detract from my storytelling. In conclusion, LUTs have become an indispensable part of my video editing toolkit—enabling me to elevate my projects while expressing my unique artistic vision. From finding free resources online to customizing existing options for consistency across multiple videos, there’s no shortage of ways these powerful tools can enhance my creative process.

As I continue exploring new techniques and approaches within this realm, I remain excited about the endless possibilities that await me in every frame I capture.

If you’re interested in enhancing your video projects, particularly if you’re working with Fujifilm’s F-Log footage, you might find this article incredibly useful. It provides a detailed guide on how to color grade F-Log footage effectively, ensuring your videos not only look professional but also visually stunning. For more insights and tips, check out the full article How to Color Grade Fujifilm Log Footage (F-Log) Like a Pro. This resource is perfect for filmmakers looking to elevate their post-production skills with free LUTs and color grading techniques.


FAQs


What are free LUTs?

Free LUTs, or Look-Up Tables, are files that contain color grading presets used to alter the colors and tones of an image or video. They are commonly used in video editing and color grading to achieve a specific look or style.

Where can I find free LUTs?

Free LUTs can be found on various websites and online communities dedicated to video editing and color grading. Some software companies also offer free LUTs as part of their marketing efforts to promote their products.

How do I use free LUTs?

Free LUTs can be used in video editing software such as Adobe Premiere Pro, Final Cut Pro, DaVinci Resolve, and others. They are typically applied to a video clip or image as an effect or filter, allowing the user to choose from a variety of preset looks or create their own custom adjustments.

Are free LUTs compatible with all video editing software?

Most free LUTs are compatible with popular video editing software, but it’s important to check the compatibility of the LUTs with your specific software before downloading and using them.

Can I create my own free LUTs?

Yes, you can create your own LUTs using video editing software or color grading tools. You can save your custom color grading adjustments as a LUT file and use it in your future projects.

free luts

Free LUTs Pack Drives Your Creativity

Free LUTs Pack Drives Your Creativity


Envision yourself stepping into a vibrant kaleidoscope, where every shade beckons with untold narratives. The art of video editing can feel like a labyrinth, yet a wealth of transformative tools exists that can elevate your raw footage into breathtaking visual poetry.

By exploring a free LUTs pack, filmmakers of all backgrounds can ignite their passion and imagination, embarking on a journey of rich color grading that inspires creativity.

Each LUT acts as a magical key, unlocking a spectrum of vibrant hues that invigorate visuals and elevate them to a cinematic look capable of mesmerism. The tales of artists who once grappled with monotonous footage now echo through the community, their creations flourishing with vivid color and heartfelt emotion, enhanced by meticulous color grading and dynamic video editing that bring a cinematic look to the art of digital imaging.

Click here to learn more about: pfa log footage to rec 709 ultimate bundle lifetime upgrade

Click here to learn more about: pfa log footage to rec 709 ultimate bundle lifetime upgrade

Understanding Color Grading Techniques

A Colorful Collision of Art and Emotion

As the world of free LUTs dances in vibrant colors, an entirely new universe of possibilities unfolds where emotion and artistry intertwine. Each frame becomes a canvas, enriched by the brushstrokes of color grading techniques that breathe life into video editing, transforming static images into moving stories.

The Heartbeat of Visual Storytelling

Each hue, every shade, acts as a brushstroke in a grand masterpiece that speaks directly to an audience’s heart. The journey begins with exploring the mystical landscape of color space, an expanse filled with potential in the enchanting arena of postproduction.

Crafting Your Artistic Vision

This newfound understanding allows creators to sculpt their artistic vision, lifting their stories to soaring heights. Consider the budding filmmaker, equipped with a camera, discovering their adventure through postproduction, dedicated LUT application, film emulation, and rec709 color space, which is pivotal in shaping a captivating visual narrative.

Elevating Aesthetic Quality

Embracing color correction techniques elevates the aesthetic quality, enabling dynamic range and tonal mapping to flourish, while creating a seamless flow between frames. Within this process, the color dynamics shift, igniting the passion that drives a compelling storytelling experience.

Visual Masterpieces

Whether it’s enhancing the vividness of a sunset or the muted tones of a somber scene, these advances in digital imaging allow filmmakers to create stunning visuals that resonate deeply with viewers.

What Is Rec709 Color Space

Within the vibrant world of visual storytelling, where every emotion finds its canvas, the Rec709 color space stands as a beacon of creativity. This essential framework for high-definition video captures a dazzling spectrum of colors and infuses them with life, turning ordinary images into mesmerizing narratives.

This intricate dance of colors is an artistic journey that magnifies each frame, ensuring the essence of the story resonates deeply with those who behold it. Emerging from the creative needs of broadcast television, Rec709 rose like a phoenix, heralding a new age where colors retain their authenticity and brilliance.

Filmmakers are enveloped in a carefully crafted color palette and gamma, allowing them to capture emotional weight while generating stunning visual aesthetics that linger long after the credits roll. Each frame acts as a brushstroke on the canvas of imagination, weaving together compelling visual storytelling, enhancing photography through a vibrant color palette, and embodying the highest artistic vision.

Rec709 Color Space

  • Rec709 is the standard color space for high-definition television, ensuring accurate color reproduction.
  • This color space allows filmmakers to maintain the authenticity and brilliance of colors in their visual storytelling.
  • Rec709 provides a defined gamma curve, helping capture the emotional depth of scenes.
  • Each frame in Rec709 can be seen as a brushstroke, contributing to the overall artistic expression in filmmaking and photography.

Benefits Of LUT Application In Editing

A Transformative Artistry

Emerging from the tapestry of visual storytelling, the transformative power of LUTs invites creators to enhance their narrative canvas, turning ordinary footage into extraordinary visual experiences. With just a click, raw images blossom into breathtaking spectacles, weaving a rich tapestry of color grading that captivates the senses and ignites the imagination.

Igniting the Color Spectrum

The allure of this artistry reveals itself in the way these tools elevate the cinematic style, infusing each frame with vibrancy that once lay dormant. Imagine a desolate landscape, its muted tones now ignited with hues that pulsate, mirroring the protagonist’s emotional turmoil.

Resonance Through Color

These colors echo heartache and hope, constructing poignant moments that resonate deeply with viewers, enriching the narrative with layers of meaning that linger long after the last scene fades. Through the integration of color correction and image processing, the process becomes an intricate dance of creativity, balancing color dynamics and tonal mapping like a true maestro of visual aesthetics.

Unlocking Creative Potential

As you explore the nuances of LUT application, you will uncover methods for enhancing video production, embracing the art of film emulation and log conversion to achieve a cinematic look that reflects your artistic vision. Each LUT acts as a unique brushstroke, offering endless possibilities for footage enhancement and creative workflow optimization.

Crafting Visual Masterpieces

In this realm of digital imaging, the journey towards elevating image quality extends beyond mere adjustments; it’s about crafting a visual masterpiece. So, dive into the world of cinematic LUTs and discover how they can enrich your projects with compelling storytelling and vibrant imagery that captivates the audience from the very first frame.

How To Achieve A Cinematic Look with Free LUTS

Building on the grand tapestry of color dynamics and transformative color grading explored previously, crafting a cinematic look requires not only technical skill but also a dash of artistic flair. Each piece of footage holds a shimmering potential, waiting for the unique touch of an artist to unveil its hidden beauty.

From the moment the camera catches a fleeting instant, the art of color dynamics and careful editing can elevate a simple story into an unforgettable epic.

Picture each frame as a vibrant canvas, where colors prance and emotions resonate, weaving a tale that strikes a chord with every viewer.

Transforming color space infuses life into your visual storytelling, turning still images into moving poetry.

In DaVinci Resolve, the journey starts with selecting input settings that suit the character of your camera. By choosing the right output gamma, you craft a cinematic palette that enhances your video production with deep color dynamics, skilled color adjustments, and enchanting video effects—maximizing the dynamic range for an awe-inspiring visual experience.

Aspect of Video EditingImportance
Color DynamicsEnhances emotional resonance and visual storytelling
Strategic EditingTransforms simple narratives into engaging sagas
Cinematic PaletteMaximizes dynamic range for stunning visuals
Input Settings in DaVinci ResolveCritical for achieving desired color space transformation

Enhancing Footage With Color Correction Free LUTs

Emerging from the foundation of color dynamics and cinematic style, enhancing footage with color correction unveils a vibrant palette where emotion and color coexist. In this realm, the process of transforming raw footage into a breathtaking visual journey unfolds, where vivid imagery beats in sync with your artistic vision.

With a swipe of your creative brush, you employ techniques that refine every hue, achieving a depth of image enhancement that resonates with the core of your intention. As you traverse this colorful path, the journey from rough visuals to a cinematic look is paved with careful adjustments.

The art of tonal mapping acts as your guiding light, shaping each frame and inviting the viewer into a captivating adventure rich with detail and intrigue. In the magical world of postprocessing tools, the ability to adjust each frame’s energy through tonal mapping and color fidelity becomes essential, ensuring high-definition video alongside breathtaking image quality.

Color grading emerges as a vital aspect of this process, infusing life into narratives, while the careful application of color correction crafts the emotional terrain of your visual storytelling. Each adjustment amplifies the visual aesthetics of your project, enabling footage optimization that enthralls viewers and stirs profound emotions, ensuring that every nuance is celebrated.

As you skillfully enhance your footage, keep in mind that the ultimate aim is to create video masterpieces that not only narrate tales but also strike a deeper chord. The techniques you master here not only elevate your film look but also enrich your creative workflow, inviting you to explore the endless possibilities in the realm of digital imaging.

Exploring Visual Storytelling Through LUTs

As we weave through the vibrant tapestry of color correction and cinematic look, the pivotal role of color grading in transforming visuals comes into sharp focus. Each frame is an opportunity, waiting for the right color dynamics to bring forth its narrative potential, inviting viewers to immerse themselves in a world crafted by sheer artistry and intent.

LUTs serve as transformative bridges, converting unpolished footage into compelling cinematic experiences that resonate with depth and emotion. Color grading tools empower creators to breathe life into their visuals; each shade selected elevates a scene and enhances the flow of storytelling, turning a simple narrative into a nuanced experience of artistic vision.

This exploration reveals how colors themselves can narrate stories, beckoning viewers to lose themselves in the depths of a visual canvas. The magic lies in the manipulation of hues and saturations—the heartbeat of a film’s emotional core. By utilizing powerful software and mastering the nuances of color science, filmmakers can achieve high-definition video that captivates and enchants.

Shifting from the art of enhancing footage and applying color correction, we uncover how the right LUT application can further enrich dramatic effects. Through a thoughtful blend of HDR imaging and visual effects, creators can craft an immersive storytelling experience, ensuring that the emotional resonance of every frame flourishes.

Color in Visual Storytelling

  • Vibrant color palettes can evoke specific emotions and enhance audience engagement.
  • Color grading tools like LUTs can transform raw footage into polished cinematic experiences.
  • Manipulating hues and saturations allows creators to effectively communicate themes and narratives.
  • HDR imaging and visual effects contribute to a more captivating and immersive storytelling experience.

Tools For Professional Video Production

In the vibrant realm of visual storytelling, the tools for professional video production serve as the backbone of unforgettable cinematic experiences. Each frame captures a moment, intertwining sights and sounds to enchant audiences, all thanks to an array of sophisticated devices crafted to elevate the art of storytelling.

High-quality cameras, like the Canon EOS R5 and the Sony Alpha 7S III, shine with their stunning image quality and remarkable versatility. These technological marvels seize moments with breathtaking clarity. An assortment of accessories—from stabilizers to specialized lenses—helps create dynamic visuals that glide across the screen with elegance.

Every instrument in this creative toolkit has a distinct role, enhancing the narrative with visual effects that breathe life into the story. Color grading software acts much like an artist’s palette, allowing filmmakers to adjust hues and shades. This manipulation creates a rich tapestry of color adjustments that elicit powerful emotional responses.

Advanced editing tools and LUT collections elevate video aesthetics and image quality, enabling creators to harness the vast potential of digital imaging. These resources not only optimize footage but also empower a creative workflow that infuses energy into every project.

The orchestration of color dynamics further enriches the film look, ensuring each scene radiates with purpose. The seamless integration of HDR imaging and postprocessing tools magnifies the cinematic style, delivering high-definition video that captivates and enchants viewers, pulling them into the unfolding narrative.

Elevating Your Workflows With Creative LUTs

In the vibrant tapestry of visual storytelling, where the significance of color dynamics shines brightly, creative LUTs stand out as invaluable tools that enrich your artistic vision. These essential resources empower filmmakers to compose scenes that not only capture the eye but also stir a whirlwind of emotions, weaving together memories and the vivid narrative unfolding before them.

Each creative LUT is akin to a painter’s brush, enabling you to imbue your footage with lively expressions that resonate deeply with your audience. Within the enchanting realm of postproduction, the ordinary transforms into the remarkable, enhancing the storytelling experience with a mesmerizing array of colors that waltz across the canvas of the screen.

As you journey through this colorful landscape, the perfect cinematic LUT can amplify the emotional heartbeat of your narrative, effortlessly aligning with the techniques explored earlier in color grading. Whether you’re crafting a delicate love story or unspooling a thrilling adventure, thoughtful color adjustments enhance your workflow, ensuring that each moment radiates with vibrancy.

Welcome the spirit of experimentation as you navigate a variety of projects; as you harness footage optimization and experiment with an assortment of LUT applications, your creative abilities will flourish. The realm of artistic LUTs invites you to explore color palettes that not only enrich your video aesthetics but also refine your editing tools to boost overall image quality.

Cinematic LUTs

  1. Cinematic LUTs enhance emotional storytelling by adjusting color tones and contrasts.
  2. They allow filmmakers to create a specific mood or atmosphere, making scenes more impactful.
  3. Using LUTs can streamline the postproduction process, saving time while improving visual quality.
  4. Experimenting with different LUTs can lead to unique artistic expressions and elevate overall creativity.

LUTs Video Passion Fuels Ambition Free Lifetime LOG To Rec709 LUTs Pack
What Is A LUT In Video And Free Lifetime LOG To Rec709 LUTs Pack
LUTs Video Passion Fuels Ambition Free Lifetime LOG To Rec709 LUTs Pack
What Is A LUT In Video And Free Lifetime LOG To Rec709 LUTs Pack

free luts

What Is A LUT In Video And Free Lifetime LOG To Rec709 LUTs Pack

What Is A LUT In Video And Free Lifetime LOG To Rec709 LUTs Pack

What Is A LUT In Video And Free Lifetime LOG To Rec709 LUTs Pack
What is a LUT?
Colors have the power to weave emotions into our visual tales, transforming simple footage into captivating stories that linger in the minds of viewers. Think of a LUT as a masterful painter’s palette, allowing video editors to breathe vibrant colors and deep tones into their visuals.

When armed with a thoughtfully curated collection of LOG to Rec709 LUTs, creators gain complimentary access to an invaluable resource that can elevate their projects from the mundane to the phenomenal.

These extraordinary tools for color grading hold the key to unlocking a world of breathtaking visual narratives.

They offer creators the ability to mold the essence and character of each scene with fluidity and grace. Imagine, for instance, infusing a vibrant color grading technique through the use of advanced lookup tables in your video editing process to enhance digital imaging.

Click here to learn more about: pfa log footage to rec 709 ultimate bundle lifetime upgrade

Click here to learn more about: pfa log footage to rec 709 ultimate bundle lifetime upgrade

What is a LUT? Understanding Lookup Tables In Video

As we uncover the power of LUT and understand define a lut and its power of visual storytelling, the transformative role of color becomes clear. In this vibrant world of video production, where each frame adds a brushstroke to a grand narrative, artists wield the mighty tools at their disposal. Among these, lookup tables act as mysterious alchemists, turning ordinary visuals into cinematic style that captivates and enchants audiences.

These digital instruments navigate complex color spaces, flawlessly converting raw clips into polished masterpieces, much like a composer crafting an unforgettable symphony. A carefully selected LUT can enhance brightness adjustment and contrast enhancement, allowing filmmakers to evoke deep emotions and guide audiences through a visual journey that lingers long after the screen goes dark.

What is a LUT? As creators manipulate these powerful assets, the wonders of postproduction emerge, revealing the extraordinary potential hidden within each frame. By mastering the art of color grading, they can experiment with tonal mapping and saturation control, breathing life into their footage and elevating their artistic vision.

The strength of a well-applied lookup table reaches beyond mere aesthetics; it plays a crucial role in the consistency and overall quality of a film’s visual narrative. When used thoughtfully, LUTs harmonize the dynamic range and visual fidelity of a project, creating a cohesive look throughout. In this dance of colors and light, creators discover endless opportunities to refine their grading workflow, allowing their unique voice to shine through. So do you know what is a LUT now?

How Does Color Grading Improve Footage

As the narrative threads woven through previous discussions intertwine, we now enter a vibrant realm where each scene unfurls like a richly woven tapestry, with every hue breathing life into the unfolding story. When filmmakers master the art of image processing, raw visuals undergo a metamorphosis, evolving into mesmerizing tales where each frame serves as a brushstroke on the canvas of imagination.

This transformative process harnesses the power of tonal mapping, allowing the emotions within the footage to resonate profoundly with viewers. With skillful color grading, colors leap to vivid prominence, crafting moods that captivate and enchant, guiding the audience through the intricate layers of the tale.

Every meticulous adjustment acts as a note in a symphony, deepening the cinematic experience and immersing spectators in a dance of light and shadow. This interplay elevates visual storytelling to new heights, revealing the nuances and depth of the film’s essence as different color palettes invite the audience to experience the story in fresh and exciting ways.

Shifting from our exploration of LUTs and their vital role, we now illuminate how these creative tools shape the core of postproduction, enhancing the overall cinematic artistry. Through this innovative process, filmmakers can refine the grading workflow, fully embracing image processing, tonal mapping, and HDR techniques that bring their artistic vision to life.

Image Processing in Filmmaking

  1. Tonal mapping enhances emotional resonance by adjusting brightness of images.
  2. Color grading significantly influences the mood and atmosphere of a film.
  3. Each frame in a film contributes to the overall narrative and visual experience.
  4. Utilizing LUTs (Lookup Tables) streamlines the grading workflow, allowing for consistent color management across scenes.

The Role Of LUTs In Postproduction

Building on our understanding of color grading and its emotional resonance, we now enter a realm where digital artistry thrives, transforming unassuming footage into stunning visual narratives. At the heart of this transformation lies the remarkable tool known as the LUT, or Lookup Table, a bridge that connects raw footage to imaginative brilliance, allowing filmmakers to sculpt their artistic visions with elegance and flair.

Imagine a vibrant color palette that breathes life into every frame, where each nuanced adjustment ignites the screen and accentuates the dynamic range of emotions within a scene. By skillfully applying LUTs, filmmakers can elevate their footage from drab to dazzling, meticulously crafting a cinematic look that resonates deeply with audiences.

In this exhilarating playground of professional editing, creators immerse themselves in the art of image processing, harnessing the power of color spaces like Rec. 709 to discover the perfect balance between aesthetics and storytelling. As we witness the synergy between LUT application and editing software, the process reveals a pathway to workflow efficiency, making every grading workflow not only effective but also profoundly creative.

As we weave through the methods of enhancing footage through color grading, one can appreciate how these adjustments harmonize seamlessly with the essence of visual storytelling. Each LUT—whether artistic or technical—shapes the narrative, guiding viewers through a visual tapestry where brightness adjustments and contrast enhancements elevate the film’s production values and visual continuity. In this intricate dance of color and light, filmmakers not only showcase their artistic vision but also embrace the robust potential of digital imaging to transport audiences into new realms of storytelling.

Exploring The Rec. 709 Color Space

Having examined how LUT application and color grading transform raw footage into compelling visual narratives, we now step into the vibrant realm of the Rec. 709 color space. This framework serves as a guiding star for filmmakers, ensuring that colors not only tell a story but resonate deeply with the audience, turning mere images into captivating experiences.

Imagine a world where colors breathe life into stories. Each shade whispers a tale rich in emotion and imagination. Within this landscape of digital imaging, color acts as a powerful thread, weaving the strands of visual effects and narrative together.

Visualize a canvas where each brushstroke invites viewers to soak in a symphony of vivid hues and deep tones. This essential tool shapes raw footage into a polished masterpiece, resonating with audiences in transformative ways.

The Rec. 709 color space is defined by its clear parameters, marking the limits of vivid shades within high-definition video standards. By using this color palette, filmmakers can ensure consistency and workflow efficiency across various media formats. This guarantees that their artistic vision remains intact from storyboard to final cut. As you uncover the intricate relationship between color science, visual effects, and scene interpretation, you will discover the keys to enhancing your creative projects.

  • Color boosts storytelling by evoking emotions and crafting immersive experiences.
  • High-definition video standards offer a reliable palette for filmmakers, ensuring consistency.
  • The dance of light and shadow is vital for capturing the creator’s vision in visual narratives.
  • Streamlined workflows in color grading can greatly enhance the quality of creative projects.

Enhancing Visual Storytelling With LUTs

Our film becomes a vibrant canvas, where colors leap off the screen like spirited dancers in an enchanting performance. In this world of artistic vision, LUTs and the Rec. 709 color space breathe life into each frame, transforming the way stories are told.

Through the careful manipulation of brightness and contrast, scenes evolve, infusing them with a breathtaking visual symphony that speaks to the viewer’s heart. Every tonal mapping choice enhances emotions that sweep from serene calmness to exhilarating joy, drawing audiences deep into the narrative you’ve crafted.

As you navigate your editing software, think of every adjustment as a journey into the essence of your story. With saturation control, the raw energy of your characters shines brightly, capturing the heart of their experiences. Interweaving these elements elevates your visuals beyond enhancement; they pulsate with the rhythm of the tale, inviting your audience to become part of that world.

The latest video editing tools offer advanced features like brightness adjustment, contrast enhancement, and detailed footage enhancement, designed to create stunning HDR visuals. These production tools strengthen your visual storytelling, allowing filmmakers to achieve consistency through meticulous color management across a variety of digital formats. In a landscape enriched by digital imaging, mastering these techniques not only lifts production values but also amplifies artistic expression, ensuring every frame carries the emotional depth and resonance intended.

What Are Artistic LUTs And Their Uses

What is a LUT and their use? Building upon the vibrant narratives woven by color grading and visual storytelling, artistic LUTs emerge as essential tools that enhance this expressive journey. These enchanting enhancements serve as the magical brushstrokes that turn ordinary visuals into extraordinary storytelling masterpieces.

Understanding Lookup Tables

Lookup Tables, commonly known as LUTs, are vital elements in the world of color correction, igniting footage with electrifying vibrancy. These technical marvels possess the remarkable ability to evoke feelings, painting scenes with emotional depth and rich color palettes that resonate profoundly with audiences.

Empowering Creativity

They empower creators to harmonize their artistic vision with precise color management, offering a seamless blend of imagination and technical skill. As one navigates the creative landscape, LUTs act as alchemists, transforming raw footage into engaging narratives that not only charm viewers but also draw them into captivating worlds.

Enhancing Visual Storytelling

This integration enriches visual storytelling, allowing creators to meld SDR, color management, innovative filming techniques, and sophisticated editing software into their unique artistic visions. With the right LUT application, a simple scene can be infused with dynamic color and an enchanting cinematic look, elevating it to a nuanced experience filled with layers of meaning.

Aspect of Color GradingImportance
Emotional ResonanceEvokes deep feelings in audiences
Artistic VisionHarmonizes imagination with technical execution
Visual StorytellingTransforms raw footage into compelling narratives
Integration of TechniquesSeamlessly combines SDR, color management, and editing

Achieving Cinematic Look Through Color Correction

Building on the enchanting journey of artistic LUTs and visual storytelling, imagine witnessing a narrative unfold where colors not only complement but also invigorate every passing moment. The profound impact of transforming hues and tones in your footage elevates it from the mundane to the magnificent, much like a skilled painter breathing life into a once-blank canvas.

In this vibrant adventure into color spaces, embracing the fusion of technical mastery and heartfelt storytelling is crucial. Every meticulous alteration becomes a pulse point, breathing dynamic color into your footage, engaging viewers on a deeper level and forging a rich connection with the narrative.

Amidst this colorful tapestry lies the concept of artistic calibration, akin to a director’s secret playbook—a harmonious blend of science and creativity. Envision a filmmaker standing before an expansive spectrum of colors, skillfully mixing them to evoke the unique mood of each scene. This transformative process shapes how your footage resonates, laying the groundwork for calibration strategies, aesthetic choices, conversion tools, and enhanced image processing.

As the narrative evolves through color correction, consider the dynamic range achieved by employing effective brightness adjustments and contrast enhancements. These calibration techniques not only refine image aesthetics but also help solidify a unified cinematic style, enhancing every moment while retaining visual continuity.

When you focus on your color palette, an enriched world unfolds—a space where every frame pulsates with imagined possibilities. Integrating various filming techniques and using specialized editing software unlock a treasure trove of creative tools. With a robust grading workflow, filmmakers can elevate their image processing, resulting in HDR visuals that burst with life and authenticity.

Ultimately, the impact of subtle changes—each tweaking of saturation control or tonal mapping—extends far beyond mere visuals. They enable storytellers to cultivate emotional depth, inviting audiences to fully immerse themselves in the shared experience. By effectively employing these strategies, one can produce art that resonates powerfully across diverse media formats, ensuring a lasting impression in the viewer’s heart.

Tips For Efficient Grading Workflow

As the hues and tones from earlier discussions create a vibrant canvas for your narrative, mastering the art of color grading becomes vital for bringing that vision to life. In this world where every frame resonates with emotion, a well-structured approach can transform technical tasks into a seamless creative journey, ensuring your project shines with exceptional visual fidelity.

Begin your quest by selecting the right color space transformation, a key link between your camera’s output and the mesmerizing cinematic style you dream of achieving. This crucial foundation supports the emotional storytelling interwoven throughout your footage.

Professional editing tools like DaVinci Resolve will serve as your faithful companions in this mission, simplifying the complex task of handling LUTs with elegance and accuracy. Utilizing these sophisticated creative tools enhances your efficiency, allowing your artistic vision to emerge with every modification.

Embrace the transformative power of color correction; these adjustments mold your film production, making each cut into an unforgettable piece of art that resonates deeply with viewers.

Grading in Film Production

  • Color grading intensifies the emotional impact of a film, engaging viewers more profoundly.
  • Choosing the appropriate color space is essential for realizing the desired cinematic look.
  • Tools like DaVinci Resolve streamline the task of color manipulation, allowing for meticulous adjustments.
  • Effective color adjustments can elevate a film’s narrative, making each scene more unforgettable.

Free LUTs Pack Drives Your Creativity

Free LUTs Pack Drives Your Creativity

what is a lut